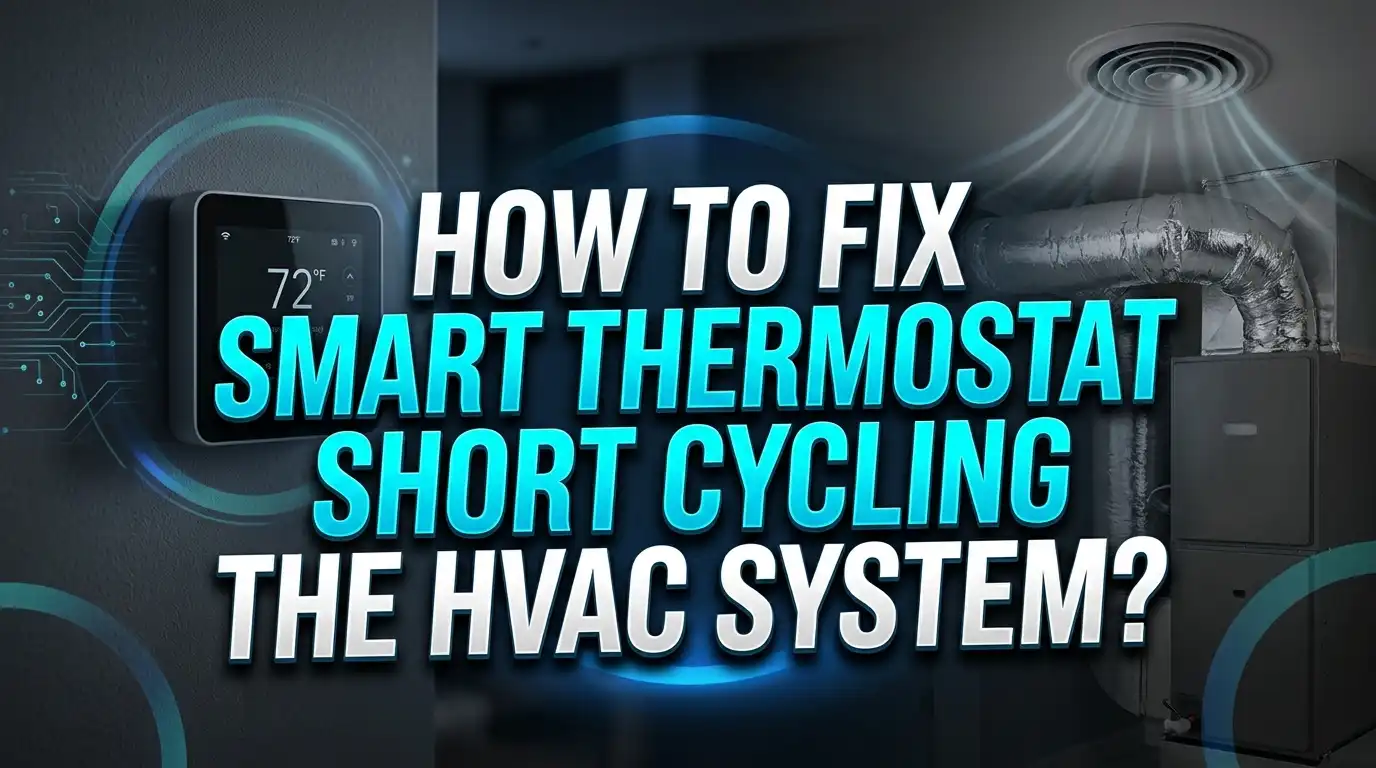
How To Fix Smart Thermostat Short Cycling The HVAC System?
Is your HVAC system turning on and off too frequently? That is called short cycling, and it is one of the most frustrating problems a homeowner can face.
Short cycling wastes energy, drives up utility bills, and puts serious stress on your equipment. Over time, it can shorten the lifespan of your entire HVAC system.
The good news is that your smart thermostat is often at the center of the fix. Many short cycling issues come down to wrong settings, poor thermostat placement, or a mismatch between your thermostat and your HVAC equipment.
This guide walks you through the most common causes of short cycling related to smart thermostats. You will also get clear, step-by-step fixes you can try yourself.
By the end of this article, you will know exactly what is causing the problem and how to stop it for good.
In a Nutshell
Short cycling happens when your HVAC system turns on and off too frequently, wasting energy and wearing out equipment faster.
Your smart thermostat settings are often the first place to check, especially the cycle rate or temperature differential settings.
A dirty air filter is one of the most common causes of short cycling and is the easiest fix to start with.
Thermostat placement matters a lot. If it sits near a heat source, vent, or drafty window, it will read the wrong temperature and cause the system to short cycle.
Oversized HVAC equipment is a deeper issue that requires a Manual J load calculation to properly right-size your system.
Modern smart thermostats can actually help prevent short cycling when configured correctly, but wrong settings can also make the problem worse.
What Is HVAC Short Cycling and Why Does It Happen?
HVAC short cycling happens when your heating or cooling system turns on and off much more frequently than it should. Instead of running for 15 to 20 minutes per cycle, a short cycling system might run for just 2 to 5 minutes before shutting down.
Why this matters: Short cycling wastes energy and forces your system to work harder than necessary. Your utility bills climb, and the constant stopping and starting puts extra wear on compressors, motors, and electrical components. Over time, this stress can cut your equipment’s lifespan in half or more.
Your smart thermostat often plays a key role in short cycling problems. The thermostat is the brain that tells your HVAC system when to turn on and off. If the settings are wrong or the thermostat is placed in a bad spot, it sends incorrect signals to your equipment.
Common reasons short cycling happens: Dirty air filters block airflow and make your system overheat, triggering an automatic shutdown. Poor thermostat placement means the device reads the wrong temperature, causing it to cycle too often. Incorrect cycle rate settings on your smart thermostat can also force the system to turn on and off rapidly.
A deeper issue involves oversized HVAC equipment. If your air conditioner or furnace is too large for your home, it cools or heats the space too quickly. The system reaches the target temperature fast and shuts down before it can run a full cycle. This is why proper equipment sizing matters.
The good news: Most short cycling problems are fixable. Start by checking your air filter and thermostat placement. Then adjust your smart thermostat settings. For serious cases involving oversized equipment, a professional can run a Manual J load calculation to determine the right system size for your home.
How a Smart Thermostat Can Cause or Contribute to Short Cycling
Your smart thermostat can actually cause short cycling if it’s not set up or positioned correctly. Understanding how this happens helps you fix the problem fast.
Temperature differential settings control how far the temperature must drop before your system kicks back on. If this setting is too narrow, your system turns on and off constantly. For example, if you set it to turn on at 72°F and off at 71°F, that one degree difference triggers frequent cycling. Most systems work better with a wider range, typically 2 to 3 degrees.
Cycle rate settings tell your thermostat how often the system can start per hour. A cycle rate that’s too high forces your equipment to restart constantly. This is especially common in smart thermostats with aggressive energy saving modes. Adjusting this setting to allow longer run times between cycles reduces wear on your equipment.
Thermostat placement has a huge impact on how your system behaves. If your thermostat sits near a heat source like sunlight, a lamp, or a kitchen oven, it reads false temperatures. Your system then cycles on and off trying to reach a temperature that doesn’t match the rest of your home. Moving the thermostat to a central, shaded location away from drafts and heat sources solves this quickly.
Smart thermostat learning features can sometimes backfire. These devices learn your habits and adjust settings automatically. If the learning algorithm is too aggressive, it may create settings that trigger short cycling. Disabling learning mode temporarily helps you identify if this is your problem.
Sensor calibration issues occur when your smart thermostat’s internal sensor drifts out of accuracy. This causes incorrect temperature readings and frequent cycling. Checking your thermostat’s calibration settings and comparing them to a basic thermometer reveals whether this is happening in your home.
How To Diagnose Short Cycling Caused by Your Smart Thermostat
Start by checking your air filter first. A clogged filter restricts airflow and makes your system overheat. Turn off your HVAC system before you remove the filter. Look at it against a light source. If you see dust buildup, it needs replacement.
Next, examine your thermostat’s location. Your smart thermostat reads the temperature in its immediate area. If it sits near a window, heat source, or air vent, it gets false temperature readings. This causes the system to cycle rapidly. Move it to an interior wall away from direct sunlight and drafts.
Check your thermostat display settings. Look for cycle rate or minimum run time options. These settings control how often your system can start per hour. A setting that’s too aggressive forces frequent on and off cycles. Adjust these to allow longer intervals between cycles.
Inspect your evaporator and condenser coils. Dirty coils reduce heat transfer and trigger automatic shutoffs. You’ll find the evaporator coil inside your indoor unit. The condenser coil sits in your outdoor unit. Visible dirt or ice buildup indicates a problem.
Verify your airflow throughout your home. Close all but a few vents and feel the air pressure at each one. Weak airflow in certain areas points to blockages or balance issues. Check that return air vents aren’t blocked by furniture or curtains.
Look at your system’s age and size. An oversized unit cools or heats your home too quickly, then shuts down before reaching full efficiency. This creates the short cycling pattern. Compare your equipment’s capacity to your home’s actual heating and cooling needs.
Document what you find. Note the time between on and off cycles. Record your thermostat settings. This information helps you identify patterns and makes troubleshooting easier.
Step-by-Step: Adjusting Smart Thermostat Settings To Stop Short Cycling
Your smart thermostat has several settings you can adjust to stop short cycling. Start by accessing your thermostat’s settings menu through its display screen or mobile app.
Temperature differential is your first adjustment point. This setting controls how many degrees the temperature must drop or rise before your system restarts. Most thermostats default to 1 or 2 degrees. If your system cycles every few minutes, increase this to 2 or 3 degrees. A wider gap gives your system more time to rest between cycles.
Next, check your cycle rate settings. This controls how many times per hour your system can start. Smart thermostats often allow you to set minimum time between cycles, typically between 5 and 15 minutes. Increase this minimum time to reduce frequent restarts.
Look for anticipator settings if your thermostat has them. These settings predict temperature changes and prevent unnecessary cycling. Adjust this feature slightly higher to reduce how often your system kicks on.
Check if your thermostat is in learning mode. Some smart models learn your schedule and adjust automatically. Temporarily disable this feature while you diagnose the problem. You can re-enable it once short cycling stops.
Deadband settings create a buffer zone where your system stays off. If your thermostat allows this, increase the deadband slightly. This prevents the system from reacting to tiny temperature fluctuations.
Always make one adjustment at a time and wait 24 hours to observe the results. This helps you identify which setting actually fixed the problem. Take photos of your original settings before changing anything. This way you can revert if needed.
If adjusting these settings doesn’t solve short cycling, the problem likely lies elsewhere. You may need to check your air filter, thermostat placement, or have a professional evaluate your equipment size.
How To Fix Short Cycling Caused by Poor Thermostat Placement
Your smart thermostat’s location matters far more than most people realize. A poorly placed thermostat reads the wrong temperature, which confuses your HVAC system into turning on and off too often.
The biggest placement mistake is putting your thermostat in a hot or cold spot. Direct sunlight streaming through a window makes the sensor think your home is warmer than it actually is. Your system shuts off early, then fires back up minutes later. Cold drafts near exterior doors create the opposite problem, triggering unnecessary cycles.
Avoid placing your thermostat in these locations:
Kitchen areas generate heat from cooking appliances and ovens. This heat source skews your sensor readings. Bedrooms experience temperature swings that don’t reflect your whole home. Hallways near outside doors expose the thermostat to drafts and temperature fluctuations. Bathrooms have humidity and heat from showers that throw off readings. Laundry rooms produce excess heat that interferes with accurate sensing.
The ideal spot is on an interior wall in a central location. Choose a hallway or living area away from windows, doors, and appliances. Mount your thermostat about five feet high on the wall for best performance. This height captures average room temperature more accurately.
Once you relocate your thermostat, give your system 24 to 48 hours to stabilize. Short cycling patterns should improve noticeably if placement was the culprit.
If relocation isn’t possible, consider using a thermostat with a remote sensor. This accessory reads temperature from a separate room, giving your system better information about your home’s actual conditions.
Poor placement is one of the easiest problems to fix yourself. Moving your thermostat to a better location often stops short cycling without any technical adjustments or professional help.
Other HVAC Issues That Trigger Short Cycling (And How To Address Them)
Your HVAC system can short cycle for reasons beyond your smart thermostat. Understanding these other triggers helps you fix the real problem.
Oversized equipment is a major culprit. When your AC unit or furnace is too large for your home, it heats or cools the space too quickly. The system reaches your set temperature fast, shuts off, then turns back on within minutes. This constant cycling wears out components and wastes energy. A Manual J load calculation determines the correct size for your home’s square footage and climate zone.
Dirty air filters restrict airflow and cause short cycling. When your filter clogs, your system works harder to push air through. It may overheat and shut down as a safety measure, then restart once it cools. Check your filter monthly and replace it every 1 to 3 months depending on usage and pets.
Frozen evaporator coils trigger short cycling too. Ice buildup on indoor coils blocks heat exchange. Your system shuts off to prevent damage, then cycles back on repeatedly. Poor airflow, refrigerant leaks, or dirty coils cause freezing. Clean coils and ensure proper airflow to prevent this issue.
Refrigerant problems make your system cycle frequently. Low refrigerant levels prevent proper heat exchange. Your compressor works harder and overheats, forcing the system to shut down for protection. A professional must handle refrigerant issues since they require special equipment and certification.
Blocked condenser coils outside reduce cooling efficiency. Dirt, leaves, and debris pile up on outdoor units. Your system can’t release heat properly, so it cycles on and off trying to maintain temperature. Clean the outdoor unit regularly and maintain 2 feet of clearance around it.
These issues need specific fixes. Identify which one applies to your situation, then address it systematically. Most problems improve with basic maintenance and professional help when needed.
Common Mistakes To Avoid When Troubleshooting Short Cycling
Many people make mistakes when they try to fix short cycling on their own. Understanding what NOT to do saves you time and prevents damage to your system.
The first mistake is removing your air filter while the system runs. This creates a vacuum that pulls dust directly into your evaporator coils. You damage the coils and make short cycling worse. Always turn off your HVAC system before checking or replacing filters.
Another common error is ignoring thermostat settings completely. People assume short cycling is always a hardware problem. In reality, incorrect settings cause most cases. You must check your temperature differential, cycle rate, and deadband settings before calling a technician.
Many homeowners also skip the obvious checks. They jump to expensive solutions without looking at basic issues first. Check your air filter, thermostat location, and vents before considering equipment replacement.
Oversizing your AC unit is a critical mistake that installers sometimes make. A unit that’s too large cools your home too fast, then shuts off immediately. This creates endless short cycling. Always verify your equipment matches your home’s cooling needs using proper load calculations.
Placing your thermostat in direct sunlight is another frequent error. The sensor reads false temperatures and triggers unnecessary cycles. Windows, heat sources, and drafty areas all cause placement problems.
Don’t ignore poor airflow issues. Blocked vents, closed registers, or furniture blocking air returns create pressure problems. Your system cycles rapidly to compensate. Check all vents and registers throughout your home.
Finally, avoid making multiple adjustments at once. Change one setting and wait 24 hours before adjusting anything else. Multiple changes at the same time make it impossible to know which fix actually worked.
These mistakes seem small, but they either waste your time or damage your system. Take a methodical approach and eliminate simple problems first.
Final Thoughts
Smart thermostat short cycling is a fixable problem. You now have the knowledge to diagnose and address the most common causes.
Start with the basics. Check your air filter first, then review your thermostat settings. These two steps alone solve many short cycling problems without any professional help.
Pay close attention to your thermostat’s cycle rate settings. Most smart thermostats let you adjust how often the system turns on and off. A small change here can make a big difference in system performance.
Thermostat placement is critical. If your device sits near a heat source, a drafty window, or a vent, it will misread your home’s actual temperature. Moving it to a central interior wall often resolves the issue quickly.
Don’t overlook the bigger picture. Your HVAC system’s size, coil condition, and airflow all play a role in short cycling. If your thermostat settings look fine, the problem may be mechanical.
Always work through one fix at a time. This helps you identify exactly what solved the problem. Making several changes at once leaves you guessing.
Some issues, like refrigerant leaks or frozen coils, need a licensed HVAC technician. Knowing when to call a professional saves you time and prevents further damage.
Modern smart thermostats are powerful tools. When configured correctly, they actively help prevent short cycling by learning your home’s heating and cooling patterns.
Keep up with regular maintenance. Change your air filter on schedule, check your vents for blockages, and inspect your outdoor unit periodically. These habits protect your system long term.
Short cycling puts unnecessary stress on your HVAC equipment. Fixing it promptly extends your system’s lifespan and keeps your energy bills under control.
Take action early, stay consistent with maintenance, and your system will run efficiently for years.
Frequently Asked Questions
What exactly is short cycling and why does it matter?
Short cycling means your HVAC system turns on and off too frequently. A normal cycle lasts 15 to 20 minutes. When your system cycles every few minutes, it wastes energy and wears out parts faster.
This reduces your equipment’s lifespan and increases your utility bills. Your compressor works harder during each startup, which causes more strain on the system.
Can a smart thermostat alone cause short cycling?
Your smart thermostat can contribute to short cycling, but it’s rarely the only cause. Incorrect cycle rate settings are the main thermostat culprit. However, your HVAC equipment size, air filter condition, and coil cleanliness also play major roles.
Check your thermostat settings first. Then inspect your air filter and look for other issues in your system.
How do I know if my air filter is causing the problem?
A dirty air filter restricts airflow through your system. When airflow drops, your evaporator coil gets too cold and your system shuts down quickly.
Check your filter every month. If it looks gray or dark, replace it immediately. A clean filter should let light pass through easily.
Should I adjust my thermostat settings myself?
Yes, you can adjust basic cycle rate settings on most smart thermostats. Many units let you increase the minimum cycle time between on and off periods.
Start with small adjustments. Change one setting at a time and wait a few days to see results. If the problem continues, move on to checking your air filter and coil condition.

Hi, I’m Yuri — I’m a tech enthusiast who loves breaking down complex gadgets, software, and tools into simple, honest reviews and guides. My goal? To help you spend less time researching and more time enjoying the right tech.