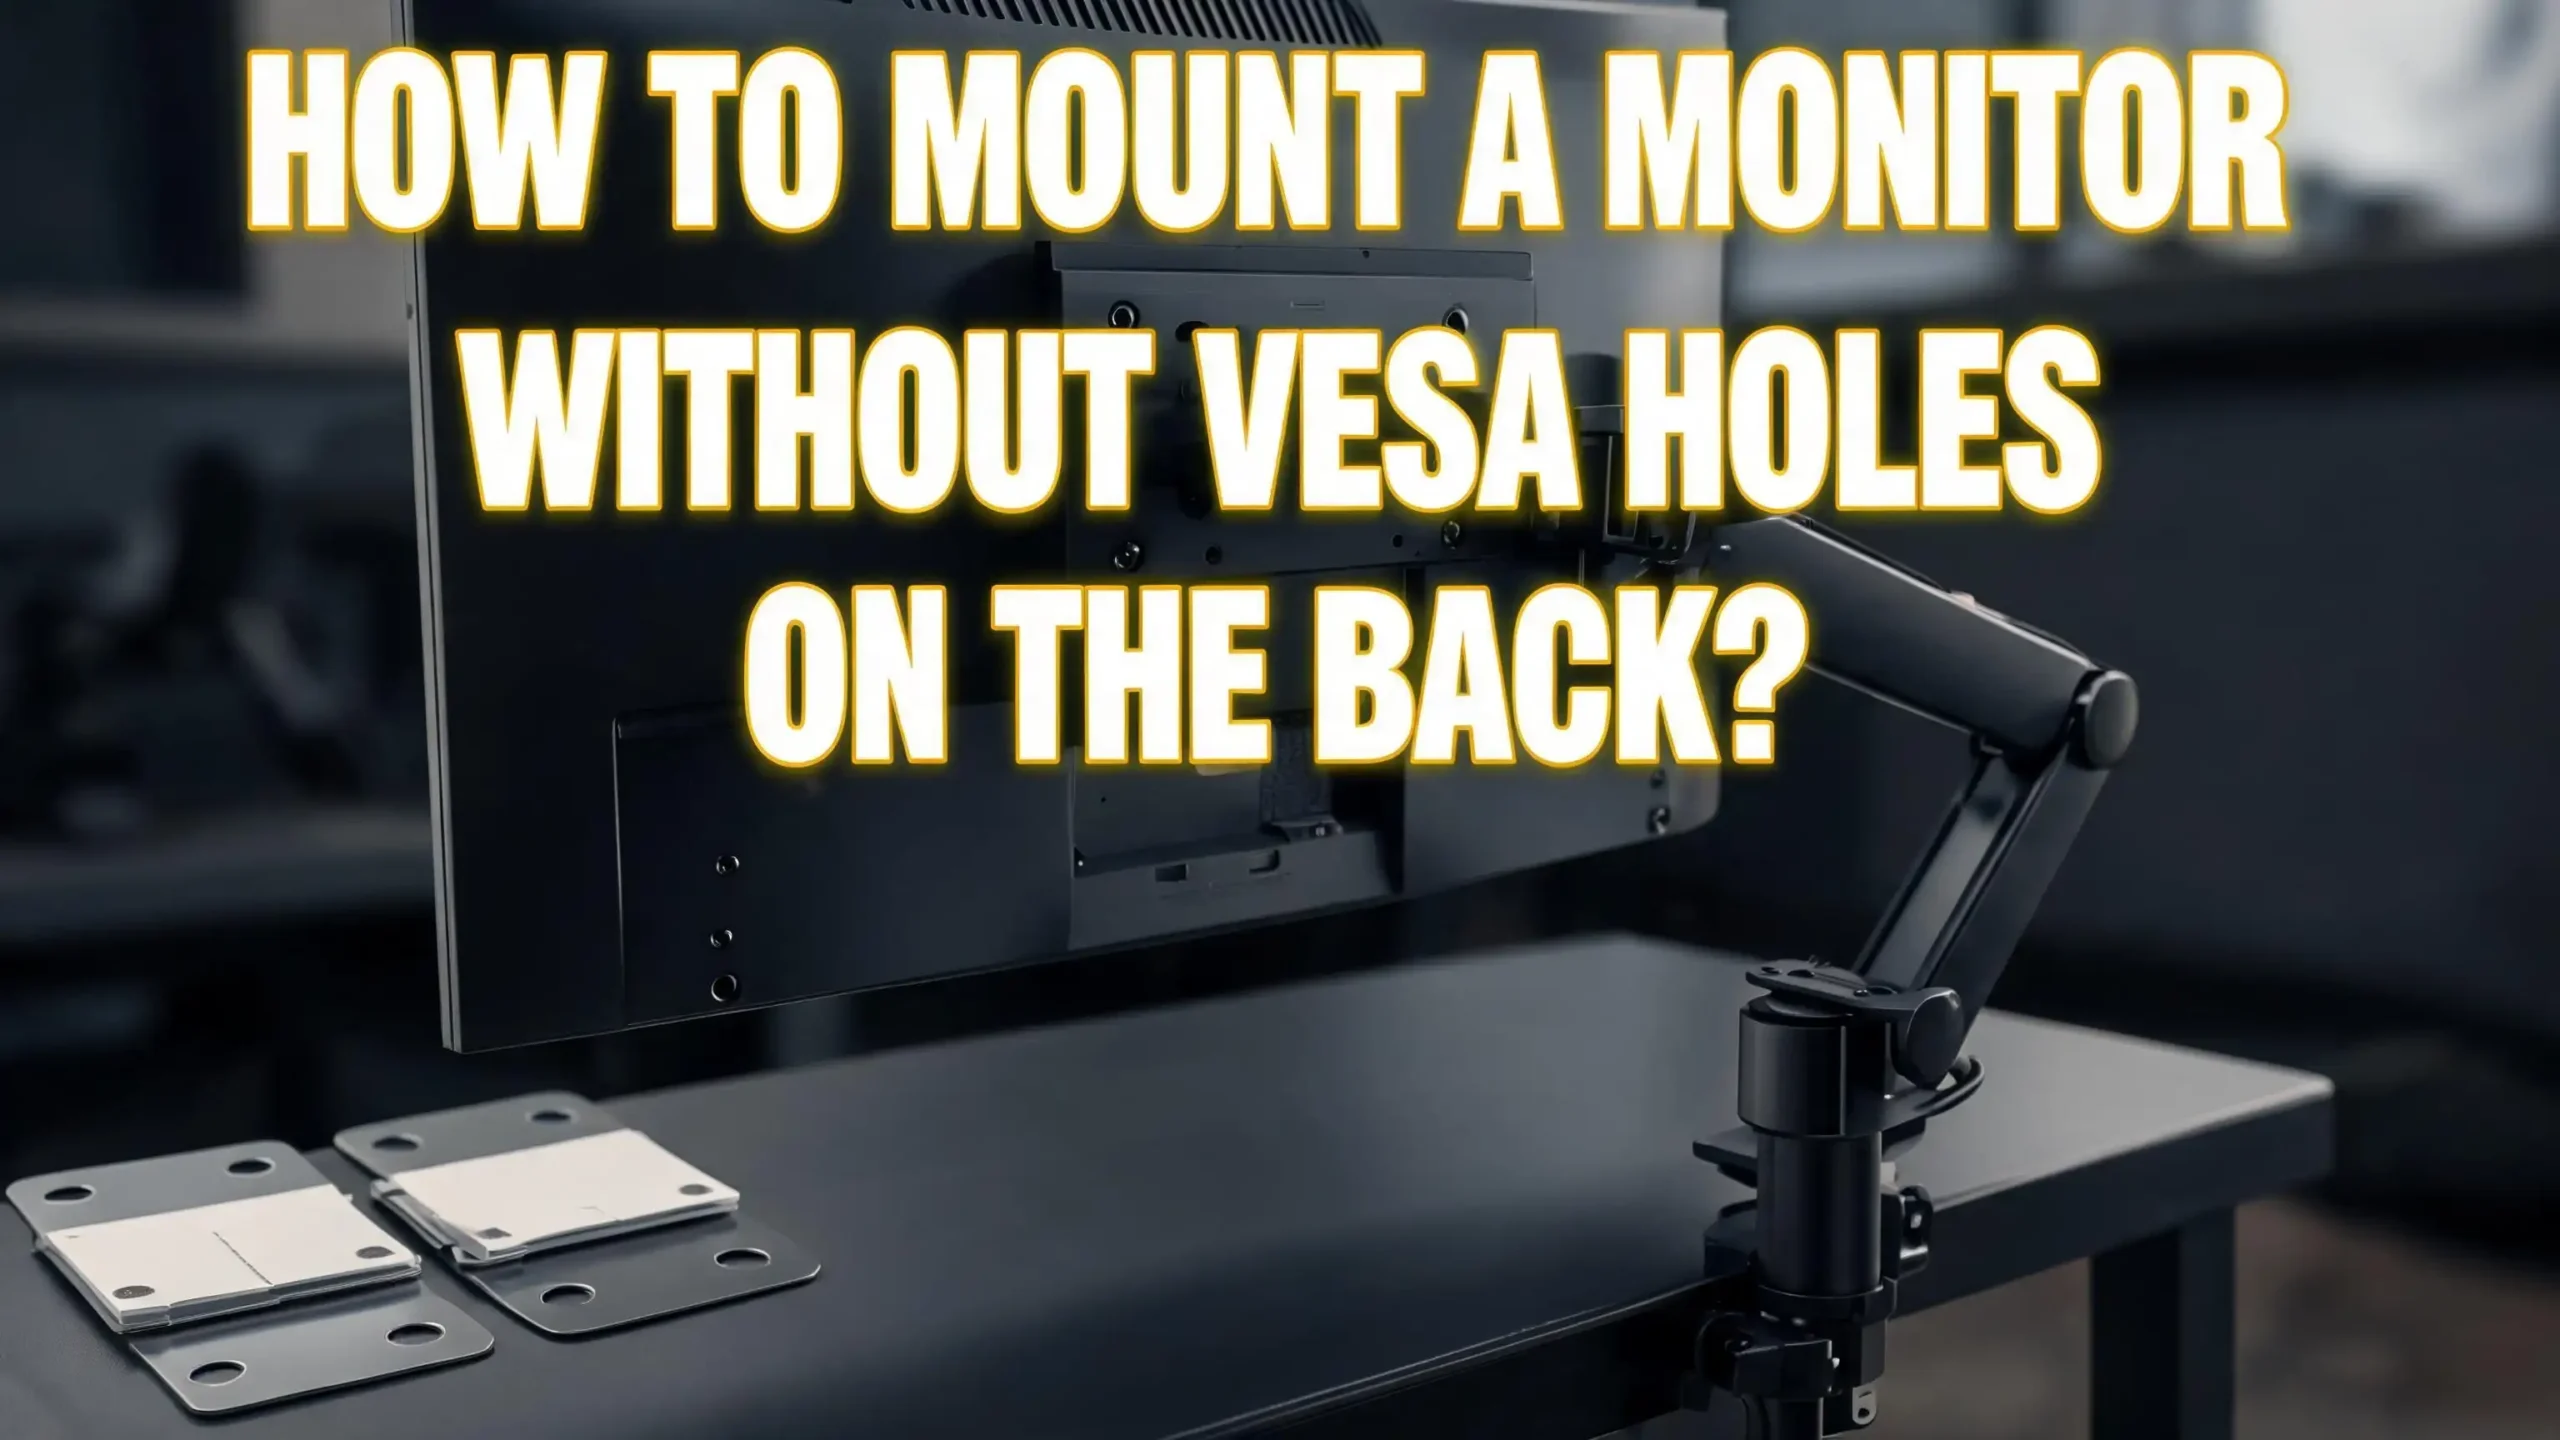
How To Mount A Monitor Without VESA Holes On The Back?
You found the perfect monitor. The screen is sharp, the colors are vivid, and the price was right. But when you flip it over to attach a mount, there are no holes. No VESA pattern. Just a smooth plastic back.
This is a frustrating moment for a lot of people. VESA holes are the standard mounting points on the back of most modern monitors, but a surprising number of displays, especially budget models, older screens, and some portable monitors, skip them entirely.
Here is the good news: you do not need VESA holes to mount your monitor. There are multiple practical, affordable, and safe ways to get your screen off the desk and into a comfortable position.
This guide walks you through every available option step by step, from adhesive adapter plates to DIY bracket builds, so you can pick the right solution and get it done properly.
Key Takeaways
- VESA holes are not required to mount a monitor. Several solutions exist specifically for monitors that lack these standard mounting points, including adapter kits, adhesive plates, universal clamp mounts, and DIY bracket methods.
- VESA adapter kits are the most popular and reliable solution. These kits attach to the monitor’s existing slots, back housing, or edges and convert the display into a VESA-compatible unit. They are available in sizes that support 75x75mm and 100x100mm VESA patterns, which fit most standard monitor arms.
- Adhesive VESA plates work well for lighter monitors. These peel-and-stick adapter plates bond directly to the back of the monitor using industrial-strength adhesive. They are easy to install but require a 24-hour curing time before use.
- Universal non-VESA monitor arms exist as an all-in-one solution. Some desk arms come with built-in clamp or bracket systems specifically designed to grip the frame of a monitor that has no holes. These arms eliminate the need for any adapter at all.
- DIY bracket solutions are available for the budget-conscious. With a metal flat bar, a drill, and a few screws, you can fabricate a custom VESA mount plate for under $20 using materials from a local hardware store.
- Safety is the top priority in every method. Always check the weight capacity of your mount, allow adhesives to cure fully, and double-check that all screws are tight before releasing the monitor. A falling monitor can damage the screen, your desk, and anything nearby.
What Are VESA Holes and Why Do Some Monitors Not Have Them?
VESA stands for the Video Electronics Standards Association. This organization created a standard hole pattern on the back of flat-panel displays to allow monitors and TVs to attach to arms, wall brackets, and stands made by different manufacturers. The most common VESA patterns are 75x75mm and 100x100mm, which simply means the four screw holes form a square with sides measuring 75mm or 100mm.
When a monitor has VESA holes, you can pick almost any arm or mount on the market and it will fit. It is a universal system that makes monitor mounting simple and predictable.
However, many monitors still ship without VESA holes. Budget monitors often skip them to reduce manufacturing costs. Some ultra-thin monitors omit them because the back panel is too shallow to hold mounting hardware safely. Older monitors from the early 2000s frequently lack them because the standard was not yet widely adopted. Some portable and touchscreen monitors also skip VESA holes to keep the form factor slim.
Knowing that your monitor lacks VESA holes is the first step. Check the back of your monitor and look for four small threaded holes arranged in a square pattern. If you do not see them, consult your monitor’s manual or search the model number online to confirm it is a non-VESA display.
Check Your Monitor’s Back Before You Buy Anything
Before you spend money on any adapter or mounting solution, spend five minutes identifying exactly what your monitor’s back looks like. This saves you from buying the wrong product and going through a return process.
Lay your monitor face-down on a soft surface like a folded towel or a blanket to avoid scratching the screen. Look at the back panel carefully. Some monitors have recessed areas or decorative indentations that look like mounting points but are not threaded. Run your finger over any holes you see. True VESA holes have metal threads inside.
Also note the following information, which you will need for any solution you choose: the monitor’s brand and model number (usually found on a sticker on the back), the screen size in inches, and the approximate weight of the display. This weight information is printed on the box or in the manual. You need this to make sure any bracket, adhesive, or arm you choose can safely support your monitor.
Write down or photograph this information before you shop. It prevents guesswork and ensures you get a compatible solution on the first try.
Method 1: Use a VESA Adapter Bracket Kit
A VESA adapter bracket kit is the most popular and widely recommended solution for non-VESA monitors. These kits are sold by multiple manufacturers and come in different styles to fit different monitor designs.
The basic concept is straightforward. The adapter kit provides a metal or sturdy plastic plate with a standard VESA hole pattern on one side. On the other side, it has a system that attaches to your specific monitor, either by clamping onto the existing stand mount slot, gripping the monitor’s bottom edge, or sliding into existing slots on the housing.
Here is how to install a typical VESA adapter bracket kit:
First, remove the original factory stand from your monitor. Most stands unclip or unscrew from the bottom or back of the panel. Keep those screws in a safe place in case you need to reattach the stand later.
Second, identify how your adapter kit attaches. Some kits slide two metal L-shaped bars under the monitor’s bottom edge and tighten with thumb screws. Other kits use the existing stand mounting slot (the slot where the factory stand attached) as an anchor point. Read the instructions that come with your kit carefully.
Third, position the adapter plate against the back of the monitor and secure it according to the kit’s instructions. Tighten all screws firmly but do not overtighten, as this can crack thin plastic monitor backs.
Fourth, attach your VESA-compatible monitor arm or wall mount to the now-installed adapter plate using the standard VESA screws.
These kits typically support monitors between 17 and 32 inches and handle weights up to 17 to 22 pounds depending on the brand. Always verify that the kit’s weight rating exceeds your monitor’s actual weight.
Method 2: Use an Adhesive VESA Plate
Adhesive VESA plates are a clean and simple solution, especially for monitors that have a smooth, flat back with no slots or edges for a bracket kit to grip. These plates work by bonding directly to the back of the monitor’s housing using industrial-strength double-sided adhesive.
The plate itself is a small metal or plastic panel with a standard 75x75mm or 100x100mm VESA hole pattern. Once adhered to the monitor’s back, it gives any VESA-compatible arm or mount a place to attach.
Follow these steps for a safe adhesive plate installation:
Start by thoroughly cleaning the area on the back of the monitor where you will place the plate. Use isopropyl alcohol on a clean cloth to remove dust, oil, and any residue. A clean surface makes the adhesive bond much stronger.
Let the surface dry completely for two to three minutes. Then peel the protective film off the adhesive side of the plate.
Press the plate firmly onto the center of the monitor’s back. Hold it in place with steady pressure for 60 seconds. Make sure the plate is centered and level, because once it cures, repositioning it is very difficult.
Leave the monitor flat and undisturbed for at least 24 hours. This curing time is critical. Adhesive plates that are used before they fully cure are far more likely to fail, which can cause the monitor to fall.
After 24 hours, attach your monitor arm’s VESA bracket to the plate and proceed with the normal arm setup.
This method works best for monitors under 15 pounds. For heavier monitors, the adhesive plate method alone may not be sufficient, and you should combine it with a bracket kit for added security.
Method 3: Use a Universal Non-VESA Monitor Arm
Some manufacturers have created monitor arms specifically designed to hold non-VESA monitors. These arms skip the VESA plate system entirely and instead use built-in brackets, cradles, or clamps that grip the monitor frame directly.
This is arguably the most elegant all-in-one solution because you do not need to modify your monitor at all. The arm does all the work.
Universal non-VESA monitor arms typically include adjustable horizontal bars that slide under or around the monitor’s top and bottom edges. Thumbscrews or tension knobs let you tighten the grip to match the monitor’s exact dimensions.
To set up a universal non-VESA arm, follow this process:
Mount the arm’s base to your desk using either a C-clamp (which grips the desk edge) or a grommet mount (which passes through a hole in the desk). Tighten the base clamp firmly.
Adjust the arm to its full extended position so you have room to work. Then open the monitor grip bracket to its widest setting.
Slide the monitor into the bracket, placing the bottom edge into the lower channel first. Then gently bring the upper channel down to rest on the monitor’s top edge. Tighten the adjustment screws progressively and evenly on both sides until the monitor is held firmly without flexing.
Check that the monitor sits level and is not being squeezed so tightly that the frame bends. A good grip is firm but not crushing.
These arms typically support monitors from 17 to 27 inches. Verify the arm’s stated monitor size range before purchasing, since oversized or undersized monitors will not be held safely.
Method 4: Try a Desk Clamp Monitor Mount With Adjustable Brackets
A desk clamp monitor mount with adjustable brackets is different from a universal arm. Instead of gripping the entire monitor frame, this style uses two padded bracket arms that clamp to specific areas on the monitor’s housing, typically the sides or the rear corners.
This method gives you some of the same flexibility as a full monitor arm while being gentle on the monitor’s housing. The padded contact points prevent scratching and distribute pressure to avoid cracking thin plastic backs.
To use this type of mount, attach the main arm to your desk using the included C-clamp or grommet hardware. Then position the two adjustable bracket arms and move them until they contact the sides of your monitor housing at a balanced position. Tighten the brackets gently until the monitor is held without play or wobble.
This method works well for monitors with thicker plastic housings and is a solid option if you already have a monitor arm but need a bracket-style attachment system. Some arms sell these adjustable brackets as add-on accessories.
Method 5: Wall Mount a Non-VESA Monitor Using an Articulating Arm
Wall mounting a monitor frees up your entire desk surface and gives you maximum flexibility in positioning. Even without VESA holes, you can wall-mount your monitor using an articulating arm combined with one of the adapter methods described earlier.
An articulating arm attaches to the wall via a mounting plate that screws into wall studs. This is important: always mount into a stud, not just drywall. Drywall alone cannot support the weight of a monitor arm and a heavy display.
Use a stud finder to locate the studs in the wall where you want to mount. Mark the stud positions with a pencil. Drill pilot holes and attach the arm’s wall plate with the provided lag screws. Pull firmly on the plate to verify it is solid before attaching the arm.
Next, prepare your non-VESA monitor with whichever adapter method suits it best, either the VESA adapter kit or the adhesive plate. Then attach the adapter to the arm’s VESA bracket.
Swing the arm out to the desired position and tighten all locking joints. Make sure the arm holds the monitor’s weight without drooping before you step back. A well-installed articulating arm lets you pull the monitor close when you need it and push it flat against the wall when you do not.
Method 6: Use a Monitor Stand or Riser as an Alternative
Not every solution has to involve an arm or a wall. A monitor stand or riser gives you a significant ergonomic improvement without needing any mounting holes at all. This is often the fastest and lowest-cost option for people who just want to raise their monitor to eye level.
Monitor stands are freestanding platforms that sit on your desk. You simply place the monitor on top of them. They come in fixed-height and adjustable-height versions.
A basic monitor riser elevates the screen by three to five inches, which is often enough to bring the top of the screen to approximately eye level when you are seated. This simple change reduces neck strain significantly.
Adjustable monitor stands let you fine-tune the height with a knob or locking mechanism. Some models also allow tilt adjustment so you can angle the screen toward you for a more natural viewing position.
Choose a stand that supports your monitor’s full width and weight. Stands with a U-shaped or full-platform base are more stable than narrow post-style stands. If your monitor is unusually wide, measure its foot-to-foot width before buying any riser to confirm it will fit.
While a stand does not give you the full range of motion of an arm, it is a zero-modification, immediate solution that anyone can set up in minutes.
Method 7: Build a DIY VESA Bracket for Under $20
If you enjoy hands-on projects and want to save money, you can build a custom VESA bracket using materials from a local hardware store. This approach is popular with tech enthusiasts and has been documented in many DIY communities.
The core concept is to fabricate a metal plate that attaches to your monitor’s housing and provides a standard VESA hole pattern. You do not need to drill into the monitor itself.
Here is a basic DIY VESA bracket approach:
Purchase a flat metal bar or aluminum strapping, approximately 1.5 to 2 inches wide and long enough to span the back of your monitor horizontally. Also get a small piece of flat steel plate or aluminum sheet large enough to accommodate 75x75mm or 100x100mm hole pattern.
Drill four holes in the plate arranged in a 75x75mm or 100x100mm square pattern. Use a drill bit appropriate for the metal thickness.
Attach the plate to the horizontal bar. Then use adjustable hose clamps, zip ties rated for the monitor’s weight, or U-bolts to secure the horizontal bar to the monitor’s back edge or housing. Wrap any contact points in rubber tape or foam to avoid scratching the monitor and to improve grip.
Test the assembly thoroughly before trusting it with your monitor’s full weight. Give the bracket firm pulls in all directions to verify there is no movement.
This approach requires basic tools including a drill, drill bits for metal, a ruler, and a marker. Total material cost is typically under $20. It is not as polished as a commercial solution, but it is highly functional and fully customizable.
Method 8: Use Industrial Velcro or Dual Lock Tape as a Mounting Aid
Industrial-grade hook-and-loop fasteners, particularly a product category known as dual-lock tape, are an unconventional but effective mounting aid for lightweight monitors. 3M’s dual-lock tape is a common choice because its interlocking mushroom-shaped heads create a grip strong enough to hold significant weight.
Standard fabric velcro is not suitable for this application. It is too weak and too flexible. Dual-lock tape, by contrast, creates a semi-rigid bond that resists shear forces, which is the type of force that would cause a monitor to slide downward.
This method works best as a supplementary attachment alongside another mounting system. For example, you might use a VESA adapter plate as the primary attachment and reinforce it with dual-lock tape strips around the edges to give extra hold.
For standalone use, this method is only appropriate for very light monitors under 8 pounds, such as small portable displays. Apply dual-lock tape to both the monitor’s back and the mounting surface, press together firmly, and allow 24 hours before loading the mount with the monitor’s full weight.
Always read the tape’s stated weight capacity and apply multiple strips if needed to distribute the load.
Method 9: Repurpose the Factory Stand With a Desk Clamp Base
Some monitors come with stands that have a standard attachment neck but are paired with a low-quality or unstable base. If your monitor’s factory stand is removable from its base, you may be able to attach it directly to a third-party desk clamp base.
This method preserves the original monitor-to-stand connection while replacing the desk-sitting base with something more stable or space-efficient.
Remove the factory stand from the monitor base by pressing the release button or removing screws at the joint. You are left with the stand neck attached to the monitor.
Purchase a desk clamp base that uses a standard pole diameter compatible with your factory stand neck. Attach the clamp base to your desk and insert the stand neck into the pole mount. In some cases, the diameters match directly. In other cases, an adapter sleeve is needed to fill the gap.
This solution does not give you the articulation of a full monitor arm, but it raises the monitor off the desk surface and frees up the space under the screen for keyboard storage or better cable management. It is a good middle-ground option for people who want a slightly elevated, cleaner desk without committing to a full arm setup.
Method 10: Check If Your Monitor Has Hidden Mounting Slots
Before you invest in any adapter or bracket, do one final check. Some monitors that appear to have no VESA holes actually have hidden or proprietary mounting slots that are designed for optional accessories from the same brand.
Manufacturers like Dell, HP, and some Samsung models have used proprietary mounting systems that accept their own brand-specific stands and wall mounts. These slots are often rectangular cutouts or notched tracks rather than round threaded holes.
Search your monitor’s full model number followed by the words “mounting options” or “back panel slots” online. Check the manufacturer’s support page for your specific model. You might find that your brand sells a proprietary VESA adapter that snaps into those slots and converts the monitor to standard VESA compatibility.
This is often the cleanest solution available because it uses hardware engineered specifically for your monitor’s design. The adapter will fit perfectly, support the correct weight, and not require any improvisation.
If an official adapter exists, it is usually available from the manufacturer’s website or authorized resellers. This small investment is often worth the price for the peace of mind that comes with a manufacturer-tested solution.
Method 11: Safety Checks Before You Trust Any Non-VESA Mount
Regardless of which method you choose, running a proper safety check before fully committing your monitor to any non-VESA mount is essential. A falling monitor can destroy the screen, damage your desk, injure pets or children, and in rare cases cause serious harm to people nearby.
Follow these safety checks every time:
First, verify the weight rating. Every mount, arm, bracket, and adhesive plate has a stated maximum weight capacity. Your monitor’s weight must be comfortably below that maximum, not right at its limit.
Second, check all fasteners after installation. Go over every screw, bolt, and clamp with your screwdriver or wrench. Fasteners often feel tight by hand but give one more quarter turn with a tool. Loose fasteners are the most common cause of mount failures.
Third, perform a load test before leaving the monitor unattended. After setting everything up, apply gentle downward pressure on the monitor for ten seconds. Then apply gentle forward and backward pressure. If anything shifts, creaks, or feels unstable, stop using the mount and investigate before proceeding.
Fourth, perform a follow-up check after 48 hours. Adhesive bonds, new clamping systems, and freshly tightened screws can all settle slightly during the first day of use. Re-check all fasteners and look for any sign of movement.
Method 12: Tips for Routing Cables After a Non-VESA Mount
Once your monitor is mounted, cable management becomes the next challenge. A mounted monitor that has cables dangling freely looks messy and creates trip hazards. Good cable routing also puts less strain on the monitor’s ports, which can wear out if cables are always pulling against them.
Use cable ties, velcro cable wraps, or adhesive cable clips to route your power cable and video cables along the arm or bracket assembly. Keep cables parallel and tie them together every six to eight inches for a clean look.
If you are using a monitor arm, thread the cables through the built-in cable management channel that most arms provide. This runs the cables internally through the arm’s joints and keeps them completely hidden.
Leave a small loop of slack cable at the monitor end. This slack is important because it allows the monitor to tilt, swivel, and adjust without the cable being pulled taut. A cable that is pulled too tight can slowly damage the port connectors.
Also secure the cables at the desk with a cable management box or adhesive cable clips. Keeping the cable organized from the monitor all the way to the power outlet or computer completes the professional look and function of your mounted monitor setup.
Comparing All Methods: Which One Should You Choose?
With so many options available, choosing the right method depends on your specific situation. Here is a practical comparison to help you decide.
The VESA adapter bracket kit is the best choice for most people. It is reliable, widely available, and works with almost any monitor arm or wall mount. If your monitor has a flat back or an existing stand slot, this is where you should start.
The adhesive plate method is ideal for ultra-thin monitors or portable displays that have nothing to grip. Use it only for monitors under 15 pounds and always allow the full 24-hour cure time.
The universal non-VESA arm is the cleanest single-product solution if you do not want to modify your monitor at all. It costs more than an adapter kit but requires zero installation on the monitor itself.
The monitor stand or riser is the right choice if you just need a quick height boost without full arm mobility. It is the fastest to set up and requires no tools.
The DIY bracket is best for tech-savvy users who want maximum customization at minimum cost. It takes more time and skill but produces a solid result.
If your monitor has hidden proprietary slots, always check for an official brand adapter first. It will be the most compatible and safest option for that specific monitor.
Frequently Asked Questions
Can I use any monitor arm with a non-VESA adapter?
Most standard monitor arms accept 75x75mm and 100x100mm VESA patterns, which are the two most common sizes for adapter kits and adhesive plates. Before buying any arm, check its VESA compatibility specifications. If your adapter creates a 100x100mm pattern and the arm accepts 75x75mm and 100x100mm, you will have no problem. Always verify that the arm’s weight capacity also exceeds your monitor’s weight.
Is it safe to use adhesive plates on a heavy monitor?
Adhesive plates work well for monitors under 15 pounds when properly installed on a clean, flat surface with full curing time. For heavier monitors, adhesive alone is not sufficient. You should combine an adhesive plate with a mechanical bracket for added security, or use a different mounting method entirely such as a VESA bracket kit that provides a physical grip.
Do I need to drill any holes into my monitor?
No, you do not need to drill any holes into your monitor for any of the methods described in this guide. All the solutions here attach to the existing surface or edges of the monitor without permanently modifying the hardware. DIY bracket methods that use clamps or U-bolts also avoid drilling into the monitor itself.
What is the most affordable method to mount a non-VESA monitor?
The DIY bracket method using hardware store materials costs the least, typically under $20. The monitor stand or riser is the next most affordable, often available for $15 to $40. VESA adapter bracket kits generally cost between $15 and $35, making them affordable as well. The most expensive option is usually a premium universal non-VESA monitor arm, which can range from $50 to $150 depending on the brand and features.
How do I know if my monitor weighs too much for my chosen mount?
Check the monitor’s weight in the product manual or on the manufacturer’s support page. Then compare it to the weight capacity listed in the specifications of your chosen mount, adapter, or adhesive plate. The mount’s capacity should always be higher than the monitor’s actual weight, ideally by at least 20 to 30 percent as a safety buffer. Never operate a mount at its exact stated maximum weight.
Can I wall mount a non-VESA monitor?
Yes, you can wall mount a non-VESA monitor. The process involves attaching a VESA adapter kit or adhesive plate to the monitor first, then connecting the adapter to a wall-mounted articulating arm or fixed wall bracket. The most important part of wall mounting is securing the arm into wall studs, not just drywall. Use a stud finder before drilling and always use lag screws of the appropriate length to anchor into solid wood framing. A properly wall-mounted non-VESA monitor is just as secure as a standard VESA wall mount.
What if my monitor is very thin or portable?
Ultra-thin and portable monitors present extra challenges because their housings are fragile and have minimal surface area on the back. For these monitors, the adhesive plate method is the most appropriate, provided the monitor is lightweight. Some portable monitors also come with built-in kickstands or folding cases that can double as stands, which eliminates the need for any mounting hardware. If you need a desk arm for a portable monitor, look specifically for products marketed as portable monitor mounts, which are designed for the lighter weight and thinner profiles of these displays.
Hi, I’m Yuri — I’m a tech enthusiast who loves breaking down complex gadgets, software, and tools into simple, honest reviews and guides. My goal? To help you spend less time researching and more time enjoying the right tech.