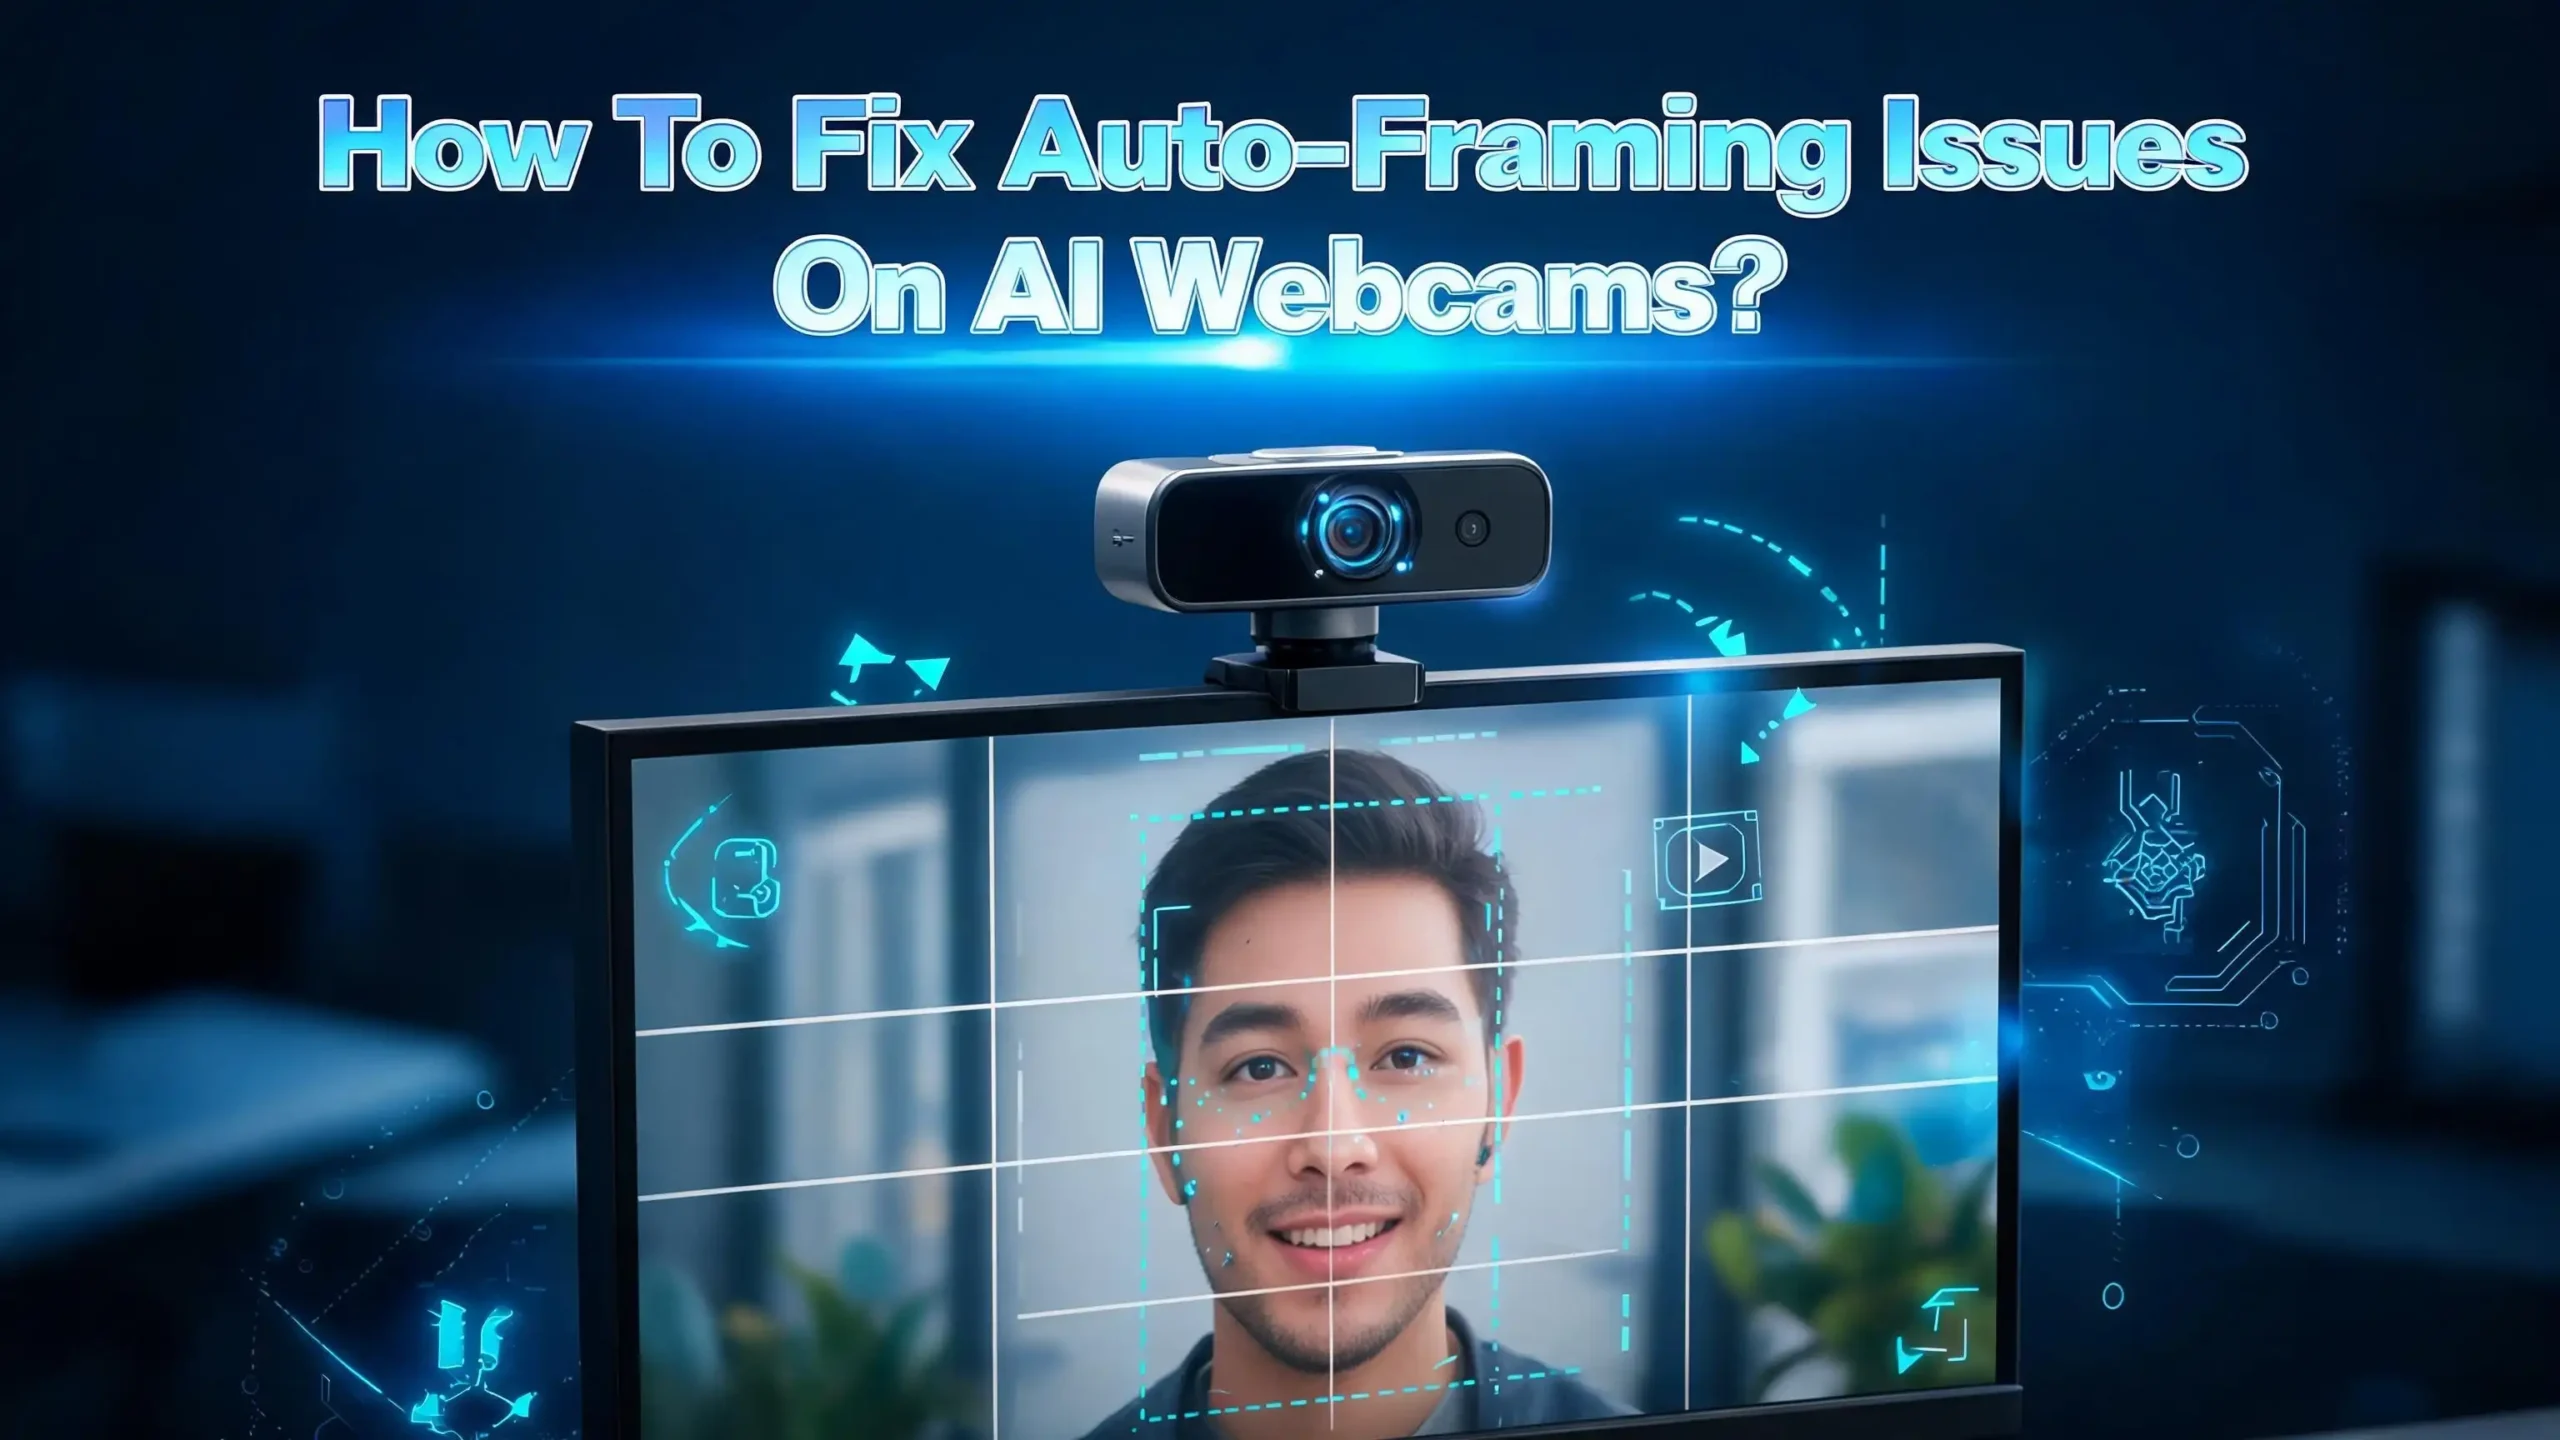
How To Fix Auto Framing Issues On AI Webcams?
AI webcams have changed how we show up on video calls. The auto framing feature tracks your face and keeps you centered in the frame automatically. But what happens when this smart feature starts acting up?
You get random zoom ins, jittery panning, choppy video, or a camera that just refuses to keep you in focus. These problems frustrate millions of remote workers, content creators, and online educators every single day.
The good news is that most auto framing issues have clear causes and simple fixes.
This guide walks you through every practical solution, from quick settings adjustments to firmware updates and hardware checks.
In a Nutshell
- Auto framing problems often come from conflicting software layers. Your operating system, webcam companion app, and video conferencing platform may all try to control framing at the same time. Disabling duplicate auto framing features at the OS or app level usually stops the conflict.
- Poor lighting and wrong positioning are the top physical causes. AI webcams need clear visibility of your face and eyes to track accurately. Sitting more than 2 meters from the camera or working in dim light forces the AI to guess, which creates erratic zooming and panning.
- Outdated firmware and drivers create tracking glitches. Webcam manufacturers release firmware updates that improve AI tracking accuracy and reduce unwanted movement. Checking for updates should be one of your first troubleshooting steps.
- Windows Studio Effects and Apple Center Stage add hidden auto framing layers. These built in OS features can override or duplicate your webcam’s own auto framing. You may need to disable them to let your webcam’s native AI work properly.
- Adjusting sensitivity and framing speed settings gives you direct control. Many AI webcams let you change how fast and how aggressively the camera reframes. Lowering sensitivity reduces jittery movements and creates smoother video output.
- Virtual backgrounds and blur effects interfere with face detection. The AI struggles to separate your face from a digitally altered background. Turning off virtual backgrounds while troubleshooting helps isolate the real cause of the problem.
What Is Auto Framing and How Does It Work on AI Webcams
Auto framing is an AI powered feature that detects your face and body in the camera’s field of view. It then digitally crops and pans the image to keep you centered in the frame. The camera does not physically move. Instead, it captures a wide angle image and uses software to select the best portion of that image in real time.
The AI relies on face detection algorithms to identify your position. It looks for key facial landmarks like your eyes, nose, and mouth. Some advanced webcams also use body tracking to follow your upper torso and shoulders. The system continuously analyzes each frame and adjusts the crop area as you move.
This technology works best when the camera has a clear, well lit view of your face. The wider the camera’s native field of view, the more room the AI has to digitally pan and zoom. Most AI webcams use a sensor with a 65 to 90 degree field of view and then crop down to simulate smooth camera movements.
The processing happens either on the webcam’s built in chip or through companion software on your computer. Some webcams handle everything internally, which means lower CPU usage. Others depend on your computer’s processor or neural processing unit (NPU) to run the tracking algorithms. Understanding where the processing happens helps you troubleshoot problems faster because the fix depends on whether the issue is hardware side or software side.
Why Your AI Webcam Auto Framing Keeps Zooming In and Out
The most common auto framing complaint is unwanted zooming. Your webcam suddenly zooms in tight on your face and then zooms back out for no obvious reason. This creates a distracting, bouncy effect during video calls that makes you look unprofessional.
This happens when the AI loses and regains detection of your face. If you glance down at your notes, turn your head to talk to someone, or even adjust your glasses, the camera may temporarily lose your facial landmarks. It then zooms out to search for you and zooms back in once it redetects your face.
Virtual backgrounds and blur effects make this problem much worse. Conference apps like Zoom and Microsoft Teams apply background processing that can interfere with the webcam’s own face detection. The AI gets confused by the digital separation between you and the background, causing erratic zoom behavior.
Another cause is distance from the camera. Dell’s official support documentation confirms that auto framing cannot perform correctly when you sit more than 2 meters away from the webcam. At that distance, the AI cannot reliably detect your eyes, and it keeps searching and readjusting. Moving your chair closer to the camera often eliminates the zoom in and zoom out cycle completely.
Low ambient light also triggers this behavior. The AI needs sufficient contrast between your face and the background to track accurately. In dim rooms, the face detection algorithm makes frequent errors, and each error triggers a reframe.
How To Disable Conflicting Auto Framing Features in Windows
One of the biggest causes of auto framing problems is multiple software layers fighting for control of your camera. Windows 11 introduced Windows Studio Effects, which includes its own automatic framing feature. If your webcam also has built in auto framing, both systems try to adjust the image at the same time. This conflict produces jittery, unpredictable camera behavior.
To disable Windows Studio Effects auto framing, open Settings on your Windows 11 PC. Go to Bluetooth & devices, then select Cameras. Click on your front facing camera from the list. You will see toggle switches for Automatic framing, Eye contact, and Background effects. Turn off Automatic framing to let your webcam’s native AI handle the tracking instead.
You can also access these settings quickly through the Quick Settings panel. Click the network, sound, or battery icon near the clock in your taskbar. Look for the Studio Effects tile and click it to toggle the features on or off. If you do not see this tile, your device may not have a compatible neural processing unit.
Microsoft Teams also has its own auto framing layer. Inside Teams, go to Settings, then Video Effects, and check for any active framing or appearance options. Disable them if you want your webcam’s auto framing to work without interference.
The key principle here is simple: only one auto framing system should be active at any time. If your webcam has its own AI framing through a companion app, disable all OS level and app level framing features. If your webcam does not have native auto framing, then use the Windows Studio Effects version instead.
How To Turn Off Apple Center Stage for Better Control
Apple’s Center Stage feature works exactly like auto framing. It uses the ultra wide front camera on iPads, iMacs, MacBooks, and Studio Displays to track your face and keep you centered. Center Stage activates by default on supported devices, and many users do not even realize it is running.
If you use an external AI webcam with your Mac, Center Stage can conflict with your webcam’s own auto framing. The two systems may fight over the crop position, producing a shaky, over corrected image.
To disable Center Stage on a Mac, open Control Center while a video app like FaceTime or Zoom is running. Click the Video Effects section. You will see the Center Stage toggle. Click it to turn it off. The setting applies per app, so you may need to disable it separately for each video conferencing tool you use.
On iPad, swipe down from the top right corner to open Control Center while on a FaceTime or video call. Tap the Video Effects button and then tap Center Stage to turn it off.
Some users report that Center Stage turns itself back on after software updates. If your auto framing problems return after a macOS or iPadOS update, check this setting again. Apple occasionally resets user preferences during major updates, and Center Stage is one of the features that can revert to its default enabled state.
For users who want Center Stage active but with less aggressive tracking, Apple offers an Auto Zoom sub option. Turning off Auto Zoom keeps Center Stage on but prevents it from zooming in when new people enter or leave the frame. This creates a more stable image.
How To Update Your Webcam Firmware To Fix Tracking Problems
Webcam manufacturers regularly release firmware updates that improve auto framing accuracy, reduce lag, and fix tracking bugs. Many users never update their webcam firmware and continue to struggle with problems that the manufacturer has already solved.
To check for firmware updates, visit your webcam manufacturer’s support website. Download the latest firmware file for your specific model. Most manufacturers provide a dedicated utility or companion app that handles the firmware installation. For example, Dell uses the Dell Peripheral Manager, and Logitech uses Logi Tune.
AVer recently released a significant firmware update that added Face Enrollment for up to 20 presenter profiles, Shield Zone to ignore background movement, and expanded tracking areas. These features directly address common auto framing complaints like losing track of the speaker or getting distracted by audience movement.
Before updating firmware, close all video conferencing apps and any software that uses your webcam. A firmware update while the camera is in use can fail or cause corruption. Connect your webcam directly to your computer’s USB port rather than through a hub. USB hubs can cause data transfer issues during the update process.
After installing the update, restart your computer and test the auto framing in your webcam’s companion app before launching a video call. This lets you confirm the update installed correctly and that tracking has improved. If the companion app shows a “camera not detected” error after the update, unplug the webcam, wait 10 seconds, and plug it back in.
How To Adjust Auto Framing Sensitivity and Speed Settings
Many AI webcams offer adjustable sensitivity and speed controls for the auto framing feature. These settings determine how quickly the camera reacts to your movement and how much movement triggers a reframe. Most users leave these at default values, but tuning them can dramatically improve your experience.
Dell’s Peripheral Manager lets you adjust tracking sensitivity and framing size directly. A lower sensitivity value means the camera waits for larger movements before it adjusts. This reduces the jittery, twitchy look that happens when the AI reacts to every small gesture. A higher framing size keeps a wider crop, which means the camera does not need to reposition as often.
Camera transition speed controls how fast the virtual pan or zoom moves to a new position. A slower transition creates smoother, more natural looking movement. A faster transition keeps you centered more aggressively but can look jarring. Most professionals prefer a medium or slow transition speed because it looks more like a human camera operator following the subject.
If your webcam’s companion app does not offer these granular controls, check whether a third party app can access them. Tools like OBS Studio sometimes expose additional camera properties through their video capture device settings. Right click your camera source in OBS, select Properties, and then click Configure Video to see if extra controls are available.
Experiment with different settings during a test recording. Record yourself moving naturally for a few minutes at each sensitivity level. Watch the playback to see which setting produces the smoothest tracking without losing you from the frame.
How To Fix Auto Framing Issues Caused by Poor Lighting
Lighting is the single biggest environmental factor that affects auto framing performance. AI face detection algorithms depend on clear contrast between your face and the background. In low light conditions, the camera sensor produces noisy, grainy images that confuse the tracking algorithm.
Place a key light source in front of you, slightly above eye level. This creates even illumination across your face and gives the AI clear, well defined facial features to track. A desk lamp with a diffuser works well for most setups. Avoid placing lights directly behind you because backlighting creates a silhouette effect that makes your face undetectable.
Mixed lighting also causes problems. If you have warm tungsten light from a lamp and cool daylight from a window, the camera’s white balance shifts constantly. This fluctuation can confuse the auto framing AI because the appearance of your skin and features changes from frame to frame. Use one consistent color temperature for all your light sources.
Overhead ceiling lights create shadows under your eyes and around your nose. The AI may interpret these shadows as the edges of your face, which leads to inaccurate framing. A ring light or a panel light positioned at face height eliminates these shadows and gives the AI a clean view of your facial geometry.
If you work near a window, be aware of changing natural light throughout the day. A setup that works perfectly in the morning may fail in the afternoon when the sun moves. Consider using blackout curtains and relying entirely on artificial lighting for consistent auto framing performance.
How To Position Yourself Correctly for Reliable Auto Framing
Your physical position relative to the camera has a direct impact on auto framing reliability. Even the most advanced AI webcam fails when you sit too far away, too close, or at an extreme angle.
The optimal distance for most AI webcams is between 0.5 and 2 meters from the camera. At this range, the camera can clearly detect your facial landmarks and has enough digital zoom headroom to track your movements. Sitting closer than 0.5 meters may put you outside the camera’s minimum focus distance, causing a blurry image that the AI cannot track.
Position the webcam at eye level or slightly above. This angle gives the AI the best view of your full face, including both eyes. Webcams mounted too low shoot upward at your chin and nostrils, which creates an unflattering angle and makes face detection less reliable. Webcams mounted too high look down at the top of your head and may lose track of your eyes when you glance at your screen.
Face the camera directly during video calls. The AI tracks best when it can see both of your eyes simultaneously. If you frequently look at a second monitor positioned to your side, the camera may lose your face each time you turn. Consider repositioning your secondary monitor so it sits directly behind or next to your webcam.
Keep your background relatively simple. Busy backgrounds with lots of movement, like people walking behind you or a television playing, can distract the face detection algorithm. The AI may briefly lock onto another person’s face and then snap back to you, creating sudden jumps in the frame.
How To Resolve Auto Framing Conflicts With Video Conferencing Apps
Zoom, Microsoft Teams, Google Meet, and other conferencing platforms have their own video processing pipelines. These can conflict with your webcam’s auto framing in unexpected ways. Understanding how each platform handles camera input helps you prevent and fix these conflicts.
Zoom applies its own video processing by default. Go to Zoom Settings, then Video, and check the box labeled Original ratio if available. Disable any appearance or touch up options under the Video tab. Also check the Background & Effects section and turn off all virtual backgrounds during troubleshooting. Zoom’s video processing can interfere with the webcam’s AI tracking by altering the image before the webcam’s software processes it.
In Microsoft Teams, auto framing conflicts often come from Windows Studio Effects running at the same time as the webcam’s native framing. Open Teams settings, click Video Effects, and scroll down to the Windows Studio Effects section at the bottom. Toggle off Automatic framing here. This is a separate control from the main Windows Settings toggle and can override your system preferences.
Google Meet has minimal built in camera processing, which makes it less likely to conflict with external webcam auto framing. However, Google Meet does apply some automatic adjustments to brightness and exposure. If your webcam’s auto framing seems to struggle only in Meet, check whether the automatic brightness correction is causing the face detection to misfire.
As a general troubleshooting step, test your auto framing in your webcam’s companion app first. If auto framing works perfectly in the companion app but breaks in your conferencing tool, the problem is on the conferencing app’s side.
How To Update or Reinstall Webcam Drivers for Stable Performance
Corrupted or outdated webcam drivers cause a wide range of problems, including auto framing glitches, freezing, and complete detection failures. Updating or reinstalling the driver fixes these issues in many cases.
On Windows, open Device Manager by right clicking the Start button. Expand the Cameras or Imaging devices category. Right click your webcam and select Update driver. Choose Search automatically for drivers and let Windows find the latest version. If Windows says the driver is already up to date, visit the webcam manufacturer’s website to check for a newer driver that Windows Update has not yet indexed.
If updating does not fix the problem, try a clean reinstall. In Device Manager, right click your webcam and select Uninstall device. Check the box to delete the driver software if that option appears. Unplug the webcam, restart your computer, and then plug the webcam back in. Windows will reinstall the driver from scratch, which clears any corrupted settings or files.
On macOS, webcam drivers are handled through the operating system and companion apps. Make sure your macOS is updated to the latest version because Apple includes camera framework improvements in system updates. Also update your webcam’s companion app through the Mac App Store or the manufacturer’s website.
After reinstalling drivers, also reset your webcam’s companion software to default settings. Some apps store framing preferences in configuration files that persist through driver updates. A factory reset within the companion app clears these cached settings and lets the webcam start fresh with clean tracking parameters.
How To Fix Auto Framing Lag and Delayed Tracking
Auto framing lag shows up as a noticeable delay between your movement and the camera’s response. You move to the left, and the camera catches up a full second later. This creates an awkward, robotic look on video calls.
The most common cause is CPU overload. If your computer runs many applications during a video call, the processor may not have enough resources to handle the webcam’s AI tracking in real time. Close unnecessary programs and browser tabs before your call. Check Task Manager on Windows or Activity Monitor on Mac to see if any background process is consuming excessive CPU resources.
USB bandwidth also affects tracking speed. If your webcam connects through a USB hub shared with other devices, it may not receive enough data throughput. Connect your webcam directly to a USB 3.0 or higher port on your computer. Avoid USB 2.0 ports because they have lower bandwidth and can bottleneck the high resolution video feed that the AI needs for accurate tracking.
Some webcams perform auto framing processing on the device itself rather than on your computer. If you have this type of webcam and still experience lag, the issue may be with the webcam’s internal processor being overwhelmed. Lowering the video resolution from 4K to 1080p reduces the processing load and can eliminate tracking delay.
Thermal throttling is another hidden cause. Webcams that sit on top of a laptop screen absorb heat from the display. Prolonged use can cause the webcam’s chip to overheat and slow down. If your auto framing works fine for the first 30 minutes but gets laggy later, heat may be the problem. Improving airflow around the webcam or using a clip on mount that holds the camera slightly away from the display can help.
How To Completely Disable Auto Framing When It Cannot Be Fixed
Sometimes the best solution is to turn auto framing off entirely. If you have tried every fix and the feature still misbehaves, disabling it gives you a stable, predictable camera image. A static camera frame looks more professional than a jittery, over correcting auto frame.
In your webcam’s companion app, look for the auto framing toggle. Dell Peripheral Manager, Logitech Tune, Razer Synapse, and other tools all have a simple on/off switch for this feature. Turn it off and manually adjust the field of view and zoom to frame yourself correctly.
Disable Windows Studio Effects automatic framing in Settings under Bluetooth & devices, then Cameras. On Mac, turn off Center Stage through Control Center while a video app is running.
Check your video conferencing app settings for any remaining auto framing or face tracking options and disable those too. In Teams, look under Video Effects for the Windows Studio Effects section. In Zoom, check the Video settings for any auto adjustment options.
Once all auto framing is off, position your webcam carefully to get the framing you want. Mount it at eye level and adjust the tilt so your head and shoulders are centered with a small amount of space above your head. This static composition looks clean and professional. Many news anchors and television hosts use fixed camera positions for exactly this reason.
If you still want some automatic adjustment, consider using OBS Studio with a face tracking plugin as an alternative. OBS lets you control exactly how aggressive the tracking is and gives you a virtual camera output you can feed into any conferencing app.
When To Consider Replacing Your AI Webcam
If you have exhausted all software and environmental fixes, the problem may be hardware related. AI webcams contain specialized processors and sensors that can degrade over time or ship with defects.
Signs that your webcam hardware is failing include auto framing that worked perfectly before but suddenly became erratic without any software changes. Another sign is the camera producing visual artifacts, color shifts, or focus problems alongside the framing issues. If the companion app detects the camera but shows corrupted or frozen previews, the internal image processor may be damaged.
Check your warranty status before purchasing a replacement. Most webcams come with a one to two year warranty that covers manufacturing defects. Contact the manufacturer’s support team with a description of your issue and the troubleshooting steps you have already tried. They may offer a replacement or suggest a firmware fix you have not tried yet.
If your webcam is out of warranty, consider upgrading to a model with on device AI processing rather than software dependent processing. Webcams that handle auto framing on their own chip are less susceptible to driver conflicts, OS updates, and CPU limitations. They also tend to produce smoother, more responsive tracking because the processing pipeline is optimized for that specific hardware.
Read user reviews and community forums for any webcam you consider purchasing. Focus on real world auto framing performance reports rather than marketing claims. A webcam that promises “AI powered auto framing” may use a basic algorithm that works poorly in practice.
Frequently Asked Questions
Why does my AI webcam keep zooming in and out during video calls?
This typically happens because the AI loses detection of your face and then redetects it. Common causes include sitting too far from the camera, poor lighting, and virtual backgrounds that confuse the face detection algorithm. Make sure you sit within 2 meters of the camera with good front facing light. Disable virtual backgrounds during troubleshooting to see if the zooming stops. Also check for conflicting auto framing features running at the OS level.
Can I use auto framing on my webcam and Windows Studio Effects at the same time?
You should not run both at the same time. Having two auto framing systems active creates conflicts where each system tries to adjust the image independently. This results in jittery, unpredictable camera behavior. Choose one system and disable the other. If your webcam has strong native auto framing, disable Windows Studio Effects. If your webcam does not have its own auto framing, use the Windows Studio Effects version instead.
How do I know if my webcam firmware is outdated?
Visit your webcam manufacturer’s support page and look up your specific model. Compare the latest available firmware version with the version currently installed on your webcam. You can usually find your current firmware version in the webcam’s companion app under device information or settings. If a newer version is available, download it and follow the manufacturer’s installation instructions.
Does lighting really affect auto framing performance?
Yes. Lighting is one of the most important factors for reliable auto framing. AI face detection requires clear visibility of your facial features. Low light produces noisy images that make tracking unreliable. Uneven or backlit conditions create shadows that confuse the algorithm. A simple front facing desk lamp or ring light dramatically improves auto framing accuracy and consistency.
Why does auto framing work fine in the webcam app but not in Zoom or Teams?
This indicates a software conflict between the conferencing app and your webcam’s auto framing. Video conferencing apps apply their own video processing, including exposure adjustments, background effects, and sometimes their own framing corrections. These processing layers can interfere with the webcam’s AI. Disable all video effects in the conferencing app and test again. If auto framing works properly with effects off, re enable them one at a time to identify which one causes the conflict.
Is it better to disable auto framing entirely?
If auto framing causes consistent problems that you cannot fix, disabling it is a valid and professional choice. Many video professionals use static camera framing because it produces a stable, distraction free image. Position your webcam at eye level, adjust the field of view manually, and center yourself in the frame. This approach eliminates all auto framing issues and gives you complete control over how you appear on camera.
Hi, I’m Yuri — I’m a tech enthusiast who loves breaking down complex gadgets, software, and tools into simple, honest reviews and guides. My goal? To help you spend less time researching and more time enjoying the right tech.