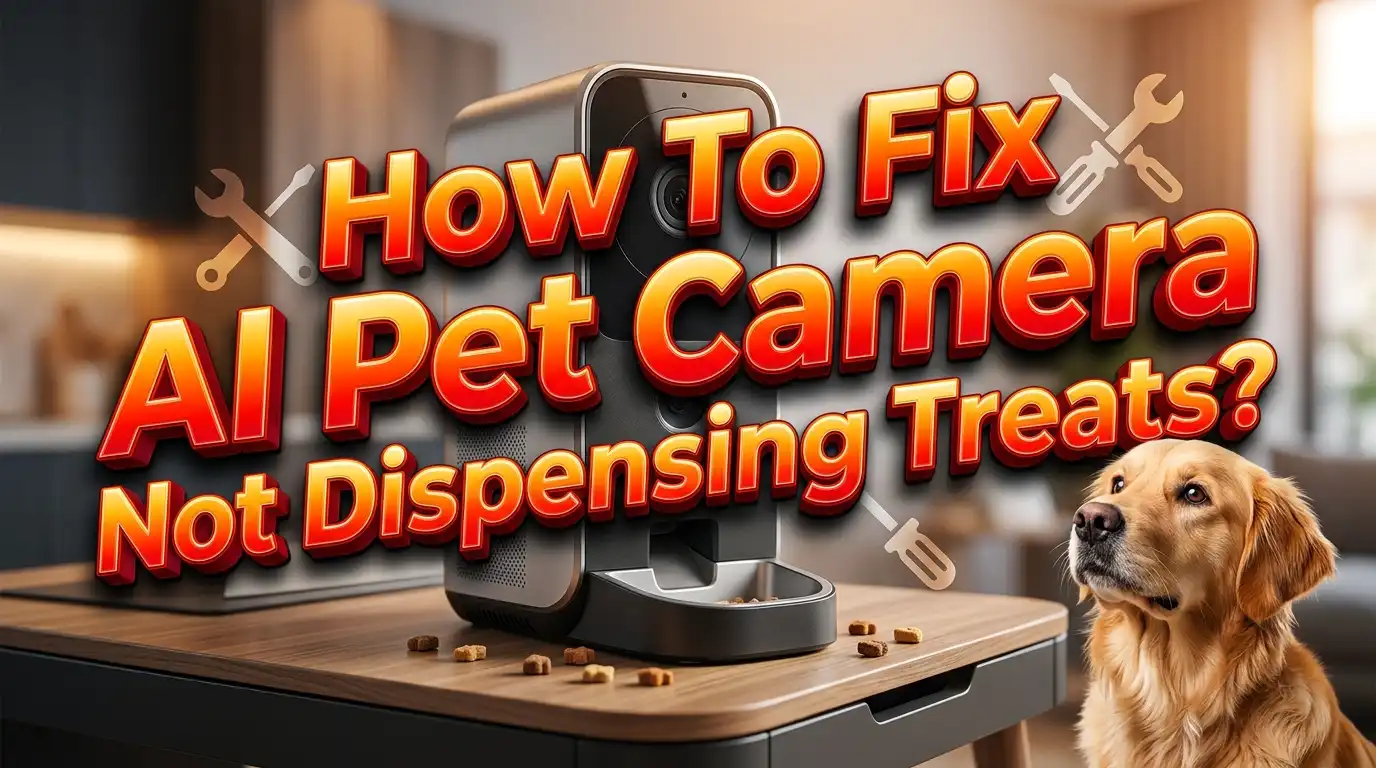
How To Fix AI Pet Camera Not Dispensing Treats?
Your AI pet camera was supposed to make pet care easier. But now the treat dispenser isn’t working, and your furry friend is waiting.
This is a frustrating problem, but the good news is that most treat dispensing issues are fixable at home. You don’t need special tools or technical skills to get things working again.
The most common causes include food particle buildup, a jammed rotor, low battery, or a simple WiFi connection problem. Each of these has a straightforward solution.
In this guide, you will learn exactly how to diagnose and fix your AI pet camera treat dispenser step by step. We cover everything from basic power checks to clearing mechanical jams and resetting your app settings.
By the end of this article, you will have a clear plan to get your device working again quickly. Let’s start troubleshooting so your pet can get back to enjoying their treats.
In a Nutshell
Always unplug your device first before you start any troubleshooting. This keeps you safe and prevents further damage.
The most common fix is cleaning out food particle buildup from the dispensing rotor and treat compartment.
Empty the treat compartment completely, then manually push the tosser back until you hear a click.
Turn the device upside down and test 4 to 5 tosses to clear any remaining jam inside the mechanism.
A weak battery or poor WiFi connection can also stop treats from dispensing. Reboot your phone, reset your WiFi, and check battery freshness.
You do not need a subscription to use the live camera or treat dispenser. You can also set timed dispensing through the Schedule or Automation menu in your app settings.
Why Your AI Pet Camera Stops Dispensing Treats
Your AI pet camera stops dispensing treats for several specific reasons. Understanding these causes helps you fix the problem faster.
Food particle buildup is the most common culprit. Over time, treat crumbs and dust collect inside the dispensing rotor and compartment. This buildup blocks the mechanism from moving smoothly. The rotor gets stuck and cannot toss treats through the app.
A jammed dispensing rotor happens when treats get wedged in the chute. This mechanical jam prevents any treats from falling through. The motor may still run, but nothing comes out for your pet.
Low battery power causes dispensing failures too. When battery voltage drops, the device cannot generate enough power to trigger the rotor. Your app shows the camera working fine, but the treat dispenser stops responding to commands.
WiFi connection problems prevent your app from sending dispense commands to the device. If your camera loses connection or the signal is weak, treat requests never reach the feeder. A poor connection can also cause incomplete commands that fail silently.
Software glitches occasionally freeze the dispenser function. The camera streams video normally, but the treat feature becomes unresponsive. A complete device reset usually clears this issue.
Worn motor components develop problems over months of regular use. The tosser mechanism may weaken and lose its dispensing force. This happens gradually, so treats dispense slowly or inconsistently at first.
Each cause has a specific fix. Start by checking battery freshness and WiFi strength. Then move to physical cleaning and manual testing. Most issues resolve with these basic steps before any replacement parts become necessary.
Safety First: What To Do Before You Start Troubleshooting
Before you begin fixing your AI pet camera treat dispenser, safety must come first. Taking a few simple precautions protects both you and your device from damage.
Unplug the device immediately. This is the most important step. Never attempt any troubleshooting while the device is powered on or plugged in. Unplugging prevents electrical shocks and protects the internal circuitry from damage. Wait at least 30 seconds after unplugging to allow the system to fully power down.
Gather your supplies. You will need a soft cloth, a small brush or old toothbrush, and a dry towel. Avoid using water or harsh chemicals near the device. Have good lighting available so you can see inside the treat compartment clearly.
Clear your workspace. Place the device on a clean, flat surface away from pets and children. Remove any treats, toys, or other objects that might get in your way. This prevents accidents and lets you work comfortably.
Inspect the device first. Look for any visible damage, cracks, or loose parts before you start. Check that the treat compartment door opens and closes smoothly. Notice if the dispensing rotor moves freely or if it feels stuck.
Read your device manual. Keep the instructions handy while you work. Different models have slightly different designs, and the manual shows you exactly where components are located.
Turn off WiFi on your phone. This step prevents accidental app commands from triggering the dispenser while you are working on it. You can reconnect later after troubleshooting is complete.
Taking these safety steps ensures a smooth repair process and keeps everything secure.
How To Clear a Jammed Treat Dispensing Rotor
A jammed rotor is the main reason your treat dispenser stops working. The rotor is the spinning part that tosses treats into your pet’s bowl. When it gets stuck, nothing comes out.
Food particles and debris build up inside the mechanism over time. Treats can crumble and leave dust behind. This dust mixes with moisture and hardens into a sticky paste. The paste locks the rotor in place.
Here’s how to clear it safely. First, unplug your device completely. Never work on an active machine. Wait a few seconds to let any power drain away.
Next, open the treat compartment and remove all remaining treats. Shake the device gently over a trash can. Loose particles will fall out. Use a soft, dry cloth to wipe the inside walls. Get into the corners where dust collects.
Now locate the tosser or rotor arm. It’s the piece that spins to launch treats. Gently push it backward until you hear or feel a click. Don’t force it. Gentle pressure is key here.
Flip the device upside down carefully. This helps dislodged particles fall away from the mechanism. Tap the bottom lightly a few times. Test the rotor by pushing it back and forth about 4 to 5 times.
Use a small brush or old toothbrush to clean around the rotor shaft. Work slowly and carefully. Remove any visible debris or buildup.
Plug the device back in and test it. Dispense a few treats to confirm the rotor spins freely. If it still sticks, repeat these steps. Sometimes stubborn jams need two rounds of cleaning.
How To Clean Food Particle Buildup From the Mechanism
Food particles accumulate inside your treat dispenser over weeks and months of regular use. This buildup prevents treats from moving smoothly through the chute and blocks the dispensing mechanism completely.
Start by unplugging your device from the power outlet. This keeps you safe while you work on the internal parts. Never attempt cleaning while the device is plugged in.
Next, remove the treat compartment from the top or side of your device. Empty every single treat into a bowl or container. Even small pieces left behind can cause problems later.
Use a dry cloth to wipe the inside walls of the compartment. Pay special attention to corners and crevices where food dust collects. A soft brush or old toothbrush works well for scrubbing stubborn residue gently.
Now look at the dispensing chute itself. This is the tube or channel where treats travel down. Use your small brush to sweep away any crumbs or powder buildup inside. Angle the device so particles fall out rather than deeper into the mechanism.
Check the tosser arm or rotor wheel carefully. This part moves back and forth to push treats out. Wipe it clean with a dry cloth. Make sure it moves freely without any stuck food blocking its path.
Flip your device upside down over a trash can. Gently tap the bottom to release any trapped particles. This helps dislodge debris hiding in hard to reach spots.
Let everything air dry completely for 10 to 15 minutes. Reassemble your treat compartment securely. Plug the device back in and test the dispenser with a few treats to confirm it works properly.
How To Fix WiFi Connectivity and Reset Your Device
Your AI pet camera treat dispenser needs a strong WiFi connection to work properly. When the app can’t communicate with your device, treat dispensing fails even if the mechanism works fine.
Start by checking your WiFi signal strength. Move your phone close to the camera and look at the WiFi bars in your app. If bars are low or missing, your connection is weak. Move the camera closer to your router or remove obstacles like walls and metal objects between them.
Next, restart your WiFi router. Unplug it from power for 30 seconds, then plug it back in. Wait two minutes for it to fully restart. This clears temporary connection issues that block communication between your phone and the device.
Now reconnect your camera to WiFi. Open your app and go to Settings. Look for a WiFi or Connection option. Select your network name and enter your password if prompted. Wait for the connection status to show “Connected” before testing the dispenser again.
If reconnection fails, perform a complete device reset. Most cameras have a small reset button on the back or bottom. Hold it for 10 to 15 seconds until you see lights flash or hear a beep. The device will restart and forget all previous WiFi settings.
After reset, reconnect to WiFi using the same steps above. Your app should walk you through the setup process. Make sure your phone and camera are on the same WiFi network. Some homes have separate 2.4GHz and 5GHz bands. Check which band your camera uses and connect your phone to match.
Test treat dispensing through your app once connection shows stable.
How To Check and Resolve Battery or Power Issues
Your AI pet camera treat dispenser relies on consistent power to function. Battery and power issues are among the most common reasons treats won’t dispense. Let’s fix this step by step.
Start by checking your battery status first. Most devices show battery level in the app’s main dashboard or settings menu. If your battery reads below 20 percent, treats may not dispense reliably. Low power affects the motor’s ability to push treats through the mechanism.
Replace batteries with fresh ones if your device uses replaceable batteries. Use the exact battery type your manual recommends. Insert them correctly, matching the positive and negative terminals. This simple step solves many dispensing problems.
For devices with built in rechargeable batteries, plug the unit into a power outlet using the original charger. Let it charge for at least two to three hours before testing again. Don’t use damaged or frayed charging cables.
Check your power outlet next. Plug a different device into the same outlet to confirm it works. If the outlet is dead, try another one in a different room. Faulty outlets prevent your camera from charging properly.
After ensuring adequate power, unplug the device for 30 seconds. This soft reset clears power related glitches. Plug it back in and wait for startup lights to appear.
Test treat dispensing through your app once the device powers up. If treats still won’t dispense after confirming full battery and stable power, move on to checking for mechanical jams or food particle buildup. Power issues are just one piece of the puzzle.
How To Set Up and Test Treat Dispensing Through the App
Before you test treat dispensing, you need to set up the feature correctly in your app. Open your device’s app and look for the main menu or dashboard. Find the section labeled “Treat Dispenser” or “Treat Control.” This is where you access all dispensing functions.
Tap into the Schedule or Automation menu. This lets you set up timed treats for your pet. You can choose specific times during the day when treats automatically dispense. Most apps show a simple calendar view where you select days and times. Start with just one scheduled treat to test the system first.
Next, adjust the treat portion size if your app offers this option. Some devices let you control how many treats dispense each time. Set it to a small amount for your first test. This prevents wasting treats if something goes wrong.
Make sure your phone connects to the same WiFi network as your camera. Your app cannot communicate with the device if it uses a different network. Check your WiFi settings and verify the connection shows “connected” or “stable.”
Now perform your first manual test. Tap the “Dispense Now” or “Give Treat” button directly in the app. Watch your pet camera’s live video feed to see if treats actually fall. Wait 5 to 10 seconds for the mechanism to respond. Some devices have a slight delay between app tap and actual dispensing.
If treats dispense successfully, your setup works correctly. If nothing happens, go back and check your WiFi connection strength. A weak signal prevents commands from reaching your device. Reposition your router closer to the camera if needed, then test again.
Common Mistakes To Avoid When Fixing Your Pet Camera
Many pet owners make simple mistakes when trying to fix their treat dispensers. These errors often make the problem worse instead of better.
Never attempt repairs while your device remains plugged in or powered on. Always unplug it first. Working on a live device risks damaging internal parts or causing safety issues. Give yourself a safe workspace before you start troubleshooting.
Ignoring food buildup is another common mistake. Treats leave crumbs and particles inside the mechanism over time. These scraps jam the rotor and block the chute. Always empty the treat compartment completely before cleaning. Don’t skip this step, even if it seems obvious.
Many people rush through the cleaning process. They wipe the outside but miss internal areas where food collects. Take time to remove all leftover debris from the dispensing rotor and surrounding parts. Use a soft brush or cloth to gently clear out particles.
Some owners skip the manual test after cleaning. This is a critical step. After you empty and clean everything, manually push the tosser arm back until you hear a click. This tells you the mechanism moves freely. Flip the device upside down over a trash can and test several tosses by hand.
Don’t forget about your WiFi connection. Treat dispensing requires a stable connection between your phone and camera. Weak signals cause failed commands. Always check your WiFi strength before assuming the device itself is broken.
Finally, avoid assuming one fix solves everything. Your problem might involve multiple issues working together. Battery problems, WiFi problems, and mechanical jams can all happen at once. Check each area systematically rather than jumping to conclusions.
Final Thoughts
Fixing an AI pet camera that won’t dispense treats is usually simpler than it seems. Most issues come down to four main causes: power problems, food buildup, a jammed rotor, or a WiFi connection failure.
Start with the basics every time. Unplug the device before you touch anything inside. This keeps you safe and prevents further damage to the mechanism.
Work through each possible cause one step at a time. Clean out the treat compartment fully, clear any food particles from the dispensing rotor, and manually push the tosser back until you hear a click.
Don’t skip the upside-down test. Turning the device over and running 4 to 5 test tosses helps dislodge any hidden blockages that cleaning alone won’t fix.
Power and WiFi issues are just as important as physical blockages. Fresh batteries and a stable WiFi connection are often the real reason treats stop dispensing. Always check both before assuming the device is broken.
Your app is a powerful tool in this process. Use the Schedule or Automation menu to set up timed dispensing and run manual tests to confirm everything works after each fix.
You do not need a subscription to use your live camera or treat dispenser on most devices. This means you can test and troubleshoot freely without extra costs.
Be patient and methodical. Rushing through fixes without fully completing each step leads to repeated problems.
If the issue continues after trying every step, contact your device manufacturer’s support team directly. They can guide you through advanced resets or help you identify a hardware fault that needs professional attention.
Frequently Asked Questions
Why does my treat dispenser jam even after cleaning?
Food particles stick to the rotor mechanism over time. Even small crumbs can block the tosser from moving freely. After you clean the compartment, manually push the tosser back until you hear a click. This resets the mechanism. If it still jams, turn the device upside down and run 4 to 5 test tosses. Gravity helps dislodge hidden blockages that your hands might miss.
Can I use treat dispensing without a subscription?
Yes, you can. Most AI pet cameras work without a subscription for both live viewing and treat dispensing. You get full access to the app’s core features right away. The subscription is optional and typically adds extra features like video recording or advanced scheduling. Check your device’s app to confirm, but basic treat dispensing is always included.
How do I know if it’s a WiFi problem or a hardware problem?
Test the device on a different WiFi network if possible. Unplug the camera for 30 seconds, then plug it back in. Open your app and try dispensing one treat manually. If it works on the new network, your original WiFi connection was the issue. If treats still don’t dispense, the problem is hardware related. Reset your device completely by holding the reset button for 10 seconds, then reconnect to your WiFi.
What should I do if the treat compartment won’t open?
Make sure the device is unplugged first. Gently wiggle the compartment lid from side to side. Don’t force it or you risk breaking the hinges. If it’s stuck from dried food, apply a tiny bit of warm water around the edges and wait 5 minutes. Wipe away excess moisture and try again. Never use tools to pry it open.

Hi, I’m Yuri — I’m a tech enthusiast who loves breaking down complex gadgets, software, and tools into simple, honest reviews and guides. My goal? To help you spend less time researching and more time enjoying the right tech.