How To Resolve Smart Mirror Defogger Not Heating Up?
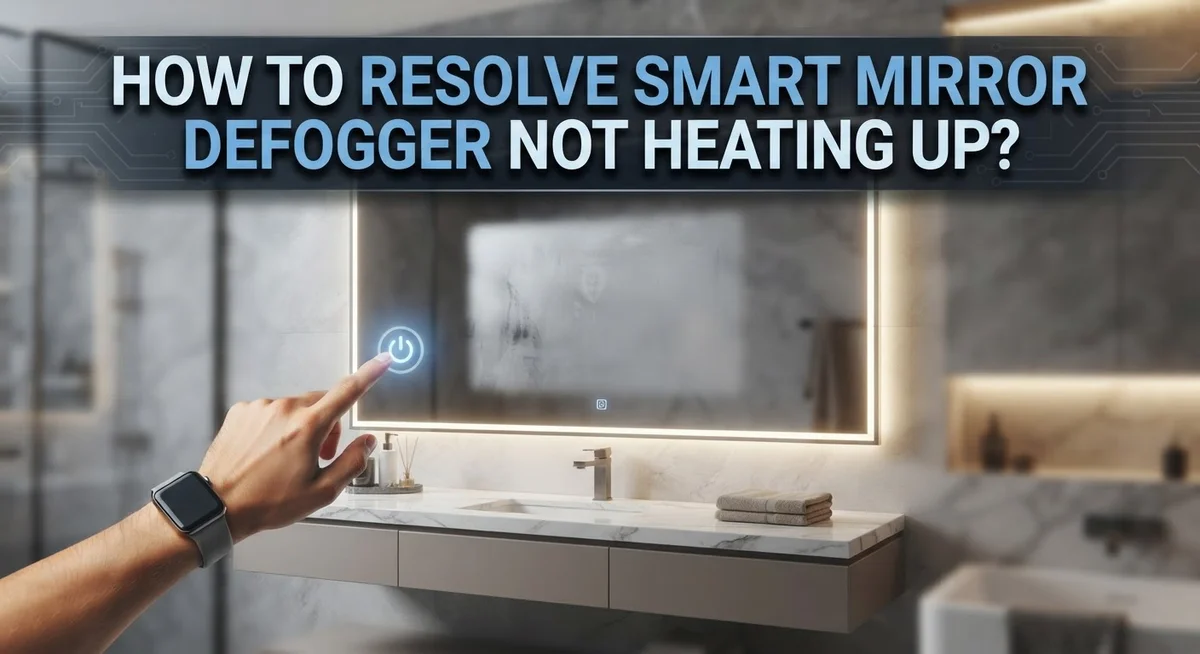
A foggy smart mirror is frustrating, especially when the defogger switch does nothing useful. You flip it on, the indicator light glows, and yet the mirror stays cloudy. This is one of the most common complaints smart mirror owners face.
The good news? Most defogger heating failures come down to a small set of fixable problems. These include faulty wiring, a failed heater element, poor power delivery, or a damaged adhesive pad.
This guide walks you through each possible cause clearly and simply. You will learn how to test your system properly using basic tools like a multimeter and an infrared thermometer.
By the end of this article, you will know exactly how to diagnose why your smart mirror defogger is not heating up. You will also know the right steps to fix it safely and confidently, even with little technical experience.
In a Nutshell
- Smart mirror defoggers work by keeping the mirror surface warmer than the surrounding air. This stops condensation from forming in the first place.
- The most common causes of failure are faulty wiring, a failed heater element, and poor power delivery. Damaged adhesive backing on pad-type defoggers is also a frequent culprit.
- Always test with a multimeter. Checking circuit resistance at the mirror contacts tells you far more than just looking at the indicator light.
- An infrared thermometer is your best friend here. Use it to confirm whether the mirror surface temperature actually rises after activation.
- Loose connections and dirty mirror backs are easy fixes that many people overlook before assuming the heater element has failed.
- The system auto-shuts off after 10 to 15 minutes by design. This is normal behavior, not a sign of a fault.
How a Smart Mirror Defogger Actually Works
A smart mirror defogger works through a simple heating principle. The system includes a thin heating element attached to the back of your mirror. When you activate the switch, electrical current flows through this element and generates heat.
The heat warms the mirror surface to a temperature above the surrounding air. This temperature difference is crucial. When the mirror stays warmer than the bathroom air, moisture cannot condense on the glass. Instead of fogging up, your mirror stays clear.
Most defoggers have an automatic shutoff feature. The system stops heating after 10 to 15 minutes to prevent overheating and protect your mirror. Some models use a timer. Others rely on a thermal sensor that detects when the surface reaches a safe temperature.
The heating element itself is usually a thin resistive pad or wire. This pad sits flat against the back of your mirror. Electrical resistance in the pad converts power into heat energy. The heat then transfers through the glass to the front surface where you see the results.
Power delivery is essential for the system to function. Electricity must travel from your wall switch through wiring to the mirror contacts. Any break in this circuit stops the heating completely.
An indicator light often shows when the system is activated. However, this light only confirms electrical power reached the switch. It does NOT guarantee the heater element is actually warming up. This distinction matters greatly during troubleshooting.
Understanding this basic process helps you identify where problems occur. You can then test each component systematically instead of guessing.
Common Reasons Your Smart Mirror Defogger Stops Heating
Your smart mirror defogger stops heating for several specific reasons. Understanding these causes helps you fix the problem faster.
Power delivery issues are the most common culprit. The defogger needs consistent electrical current to generate heat. Check whether power actually reaches the mirror. Look for loose wires behind the mirror or at the connection points. A loose plug or disconnected cable prevents any heating action, even if the indicator light turns on.
Faulty wiring is another frequent problem. The wire connecting your power source to the heating element can break, fray, or corrode over time. Moisture in bathrooms accelerates this damage. Inspect the visible wiring for discoloration or damage. Damaged wiring blocks power flow completely.
Failed heater elements occur when the resistive pad or wire inside the mirror burns out. This happens naturally after years of use. The element simply stops converting electrical current into heat. Unfortunately, a failed element usually requires professional replacement.
Damaged adhesive backing affects pad type defoggers specifically. If the heating pad loses contact with the mirror surface, heat transfer stops. The pad must press firmly against the mirror back. Poor adhesion creates air gaps that prevent proper heating.
Automatic shutoff activation can feel like a malfunction. Most defoggers shut down after 10 to 15 minutes to prevent overheating. If your mirror heated briefly then stopped, this feature likely activated. Wait a few minutes, then try again.
The indicator light turning on does not guarantee the heater works. Many people make this mistake. The light only shows that power reached the control switch, not that heat is actually generating. This distinction matters greatly when diagnosing problems.
Tools You Need Before You Start Troubleshooting
Before you start troubleshooting your smart mirror defogger, gather the right tools. Having everything ready saves time and prevents frustration during the diagnostic process.
A multimeter is your most important tool. This device measures electrical resistance and voltage at different points in your defogger circuit. You’ll use it to test whether power reaches the mirror contacts and whether the heating element itself has failed. Set it to the resistance setting to check circuit continuity.
An infrared thermometer is equally essential. This handheld device measures surface temperature without touching the mirror. You’ll point it at your mirror after activating the defogger to confirm whether the surface actually heats up. This tells you if the system produces warmth or just looks like it’s working.
A voltage tester or multimeter set to voltage mode helps you verify power delivery. You’ll check connection points to see if electricity actually flows to the defogger system. This is faster than resistance testing for initial power checks.
Gather basic hand tools like a small screwdriver set and needle nose pliers. You may need to access connection points or gently remove adhesive backing without damaging the mirror.
Keep a clean cloth handy. Dust and moisture on mirror backs interfere with adhesive contact and electrical connections. Wipe surfaces before testing.
Have a flashlight or headlamp ready. You’ll inspect the back of your mirror and connection points in detail. Good lighting reveals loose wires, corrosion, or damaged contacts that cause heating failures.
Finally, grab your mirror’s manual or documentation. This shows you exactly where connections are located and what normal operation looks like. Reference guides prevent accidental damage during troubleshooting.
Step-by-Step Guide to Diagnosing the Defogger Issue
Start by checking whether power actually reaches your defogger system. Look at the indicator light on your mirror or control panel. When you flip the switch, does the light turn on? If it doesn’t, you likely have a power delivery problem rather than a heating issue.
Next, verify that the mirror surface temperature actually increases. An indicator light turning on does NOT mean the heater is working. Use an infrared thermometer to measure the mirror surface temperature right after you activate the defogger. Take a reading immediately, then check again after 2 minutes. The temperature should rise noticeably. If it stays the same, the heating element has probably failed.
Test your wiring connections at the mirror’s contact points. Loose wires and corroded connections prevent power from reaching the heater. Inspect where the power cable connects to your mirror. Look for visible damage, rust, or loose terminals. Gently wiggle the connections while watching for any changes.
Use a multimeter to check the heater circuit resistance. Set your multimeter to the resistance setting. Place the probes on the mirror’s contact points. A reading of zero or infinity suggests a broken heater element or faulty wiring.
Check the adhesive backing if you have a pad type defogger. Pads that aren’t firmly pressed to the mirror won’t heat properly. The backing must make full contact with the glass surface.
Finally, examine the mirror’s back surface for dust or debris. Clean it thoroughly with a dry cloth before reinstalling any components. Dirt prevents proper adhesive contact and blocks heat transfer to the glass.
How to Test the Heater Element and Wiring With a Multimeter
A multimeter is your primary tool for diagnosing heater element and wiring problems. This device measures electrical resistance, voltage, and continuity to pinpoint exactly where your system fails.
Start by setting your multimeter to the resistance mode. This setting measures ohms, which tells you if electricity can flow through your heater circuit. Look for the ohm symbol on your device dial, usually marked with the Greek omega symbol.
Locate the mirror’s contact points or terminals where power connects. These are typically on the back of your mirror or along the frame edge. Turn off the defogger system completely before testing. Safety comes first when working with electrical components.
Place one multimeter probe on each contact point. Hold them firmly in place for a steady reading. A working heater element shows a specific resistance value. Your mirror’s manual lists this exact number. If your multimeter reads zero or infinity, the heater element is likely broken.
Next, test the wiring itself. Check the connections where wires attach to the mirror terminals. Loose or corroded connections prevent power from reaching the heating element. Your multimeter should show low resistance at these connection points.
Examine the wire insulation for cracks, burns, or damage. Even small breaks interrupt the electrical circuit. If wires appear damaged, they need replacement.
Switch your multimeter to voltage mode to verify power actually reaches these connection points. Set it to AC voltage if your defogger uses alternating current. Place probes across the terminals with the system turned on. You should see voltage readings matching your system’s specifications.
These tests reveal whether your problem is a failed element, broken wiring, or poor connections. Each result points you toward the specific repair needed.
How to Fix Defogger Pad Adhesion and Installation Problems
Defogger pad adhesion problems are one of the most common reasons your smart mirror defogger stops heating up. When the pad loses contact with the mirror surface, electricity cannot flow through the heating element properly. This breaks the circuit and prevents heat generation entirely.
Poor installation is the main culprit here. If you press the defogger pad unevenly or incompletely onto the mirror, only certain sections make electrical contact. The heating element then works in patches rather than across the entire surface. You might see some warmth in spots but not the full defrosting effect you need.
The adhesive backing degrades over time from moisture exposure and temperature changes. Bathroom humidity accelerates this breakdown. When adhesive weakens, the pad gradually separates from the mirror surface, starting at the edges and working inward. This separation kills the heat transfer you depend on.
Before reinstalling a pad defogger, clean the mirror’s back surface thoroughly. Use a dry cloth to remove dust, soap residue, and any old adhesive remnants. Even thin layers of debris prevent proper contact between the pad and mirror. A clean surface ensures maximum adhesion and better electrical connection.
Press the defogger pad firmly and evenly across the entire mirror back. Start from the center and work outward toward the edges. Apply steady pressure for at least 30 seconds to allow the adhesive to set properly. Make sure all corners and edges make solid contact with the mirror surface.
If your pad still won’t adhere properly after cleaning, the adhesive backing may be completely worn out. In this case, replacement becomes necessary to restore full heating functionality.
Common Mistakes to Avoid When Troubleshooting a Mirror Defogger
People often make critical errors when trying to fix a defogger that won’t heat up. Understanding these mistakes helps you troubleshoot effectively and avoid wasting time on dead ends.
The biggest mistake is assuming the indicator light means everything works. Many people see the light activate and think the heating system is functioning properly. The light only tells you power reaches the control circuit. It does not confirm that heat actually builds up on the mirror surface. Always verify temperature with an infrared thermometer or by touching the mirror after waiting a few minutes.
Another common error is skipping the resistance test entirely. People jump straight to replacing parts without measuring if electricity flows through the heater element. This wastes money and time. A multimeter test takes just minutes and reveals whether the heating circuit has continuity.
Many users ignore wiring connection integrity. Loose connections at terminals prevent power from reaching the heater. Corroded or damaged wires block electricity flow. Always inspect these areas carefully before assuming the element itself failed.
People also rush the installation process with pad defoggers. Pressing the pad unevenly or incompletely creates air pockets that prevent proper contact with the mirror. The heater won’t work if it doesn’t touch the surface uniformly.
Overlooking the mirror’s back surface is another frequent mistake. Dust and debris on the back prevent adhesive from bonding correctly. Cleaning this area takes seconds but makes a huge difference.
Finally, people often ignore the auto shutoff feature. Many defoggers turn off after 10 to 15 minutes to prevent overheating. If your mirror stops heating, wait before assuming failure. The system may simply have cycled off as designed.
Preventive Maintenance Tips to Keep Your Defogger Working
Regular maintenance stops defogger problems before they start. You don’t need special tools or technical skills to keep your system running smoothly.
Clean the mirror back monthly. Dust and moisture buildup reduce adhesion and block heat transfer. Use a dry, lint free cloth to wipe the entire back surface. Pay special attention to corners where debris collects. This simple step prevents many heating failures.
Check all wire connections quarterly. Loose wires are a leading cause of power loss. Gently wiggle each connection point to ensure it’s tight. Look for corrosion or discoloration around terminals. These signs indicate moisture damage that needs immediate attention.
Inspect your defogger pad for wear. If you use a pad type defogger, examine the adhesive backing every six months. The adhesive degrades from bathroom humidity and temperature swings. If the edges start lifting, the pad won’t heat evenly. Plan a replacement before complete failure occurs.
Monitor heating performance regularly. Turn on your defogger and wait five minutes. The mirror surface should feel noticeably warm to touch. If it doesn’t, problems may be developing. Catching issues early saves time and money.
Keep the area around your mirror dry. Excess moisture accelerates electrical failures and adhesive breakdown. Improve bathroom ventilation by running exhaust fans during and after showers. Open windows when possible.
Test your system monthly. Activate the defogger and verify the indicator light comes on. Listen for any unusual sounds. These quick checks catch problems early. Prevention beats emergency repairs every time. Spending ten minutes monthly on maintenance keeps your defogger working for years.
Final Thoughts
A smart mirror defogger that won’t heat up is usually a solvable problem. Most failures trace back to a few root causes: faulty wiring, a failed heater element, poor adhesion, or power delivery issues.
Start your diagnosis with the basics. Check for power at the connection points first. Then use a multimeter to test the heater circuit resistance. These two steps alone will identify most failures quickly.
Never assume the indicator light confirms the heater is working. The light only shows that the switch received power. The heating element could still be completely dead.
Use an infrared thermometer to verify actual temperature rise after activation. If the mirror surface stays cold after five minutes, the element has likely failed. This is one of the most reliable ways to confirm a heating problem.
For pad-type defoggers, adhesion is everything. A poorly applied pad transfers heat unevenly and loses contact over time. Always press the pad firmly from the center outward to eliminate air gaps.
Wiring integrity matters just as much as the element itself. Loose terminals and corroded connections block power flow silently. A visual inspection alone won’t catch these issues, so always test with a multimeter.
The auto-shutoff feature activates after 10 to 15 minutes to prevent overheating. If your defogger seems to stop working mid-cycle, this feature may simply be doing its job.
Consistent maintenance is your best long-term strategy. Checking connections, inspecting adhesive backing, and monitoring heat output regularly will catch small issues before they become full failures.
With the right diagnostic steps, most defogger problems are straightforward to identify and fix.
Frequently Asked Questions
Why is my defogger light on but the mirror still fogs up?
The indicator light only shows that power reached the switch. It does NOT mean the heater element is working. Many people make this mistake. You need to verify actual heat output using an infrared thermometer. Point it at the mirror surface five minutes after activation. If the temperature hasn’t risen, your heater element has likely failed or wiring is broken.
How long should a defogger take to clear condensation?
A working defogger typically needs 5 to 10 minutes to prevent new fog from forming. It won’t instantly clear existing condensation. The system maintains mirror temperature above the surrounding air. This stops water vapor from condensing on the glass. If your mirror stays foggy after 15 minutes, the heating element probably isn’t functioning.
Can a loose wire connection cause heating failure?
Yes, absolutely. Loose wires at the connection points prevent power from reaching the heater element. Check all terminals and connections where wires attach to the mirror. Wiggle them gently to ensure they’re tight. A multimeter can test for electrical resistance at these contact points. Poor connections are one of the leading causes of defogger failure.
What should I check before assuming the heater is broken?
First, verify the indicator light activates when you turn on the switch. Second, use an infrared thermometer to measure actual temperature rise. Third, inspect all visible wiring for damage or loose connections. Fourth, check that the mirror back is clean and dry if you have a pad type defogger. Most heating failures stem from connection issues, not the element itself.
Why does my defogger shut off after 15 minutes?
This is intentional. The auto shutoff feature prevents overheating and protects your mirror. After 10 to 15 minutes, the system automatically stops to cool down. This is normal operation. You can turn it back on if needed. This safety feature helps extend the defogger’s lifespan.

Hi, I’m Yuri — I’m a tech enthusiast who loves breaking down complex gadgets, software, and tools into simple, honest reviews and guides. My goal? To help you spend less time researching and more time enjoying the right tech.