
How To Repair Haptic Feedback Motors In VR Gloves?
Your VR glove just stopped buzzing. You pressed your virtual fingers against a digital wall, and nothing happened. That missing vibration can ruin an entire VR session. The good news is that haptic feedback motors in VR gloves are repairable in most cases, even at home.
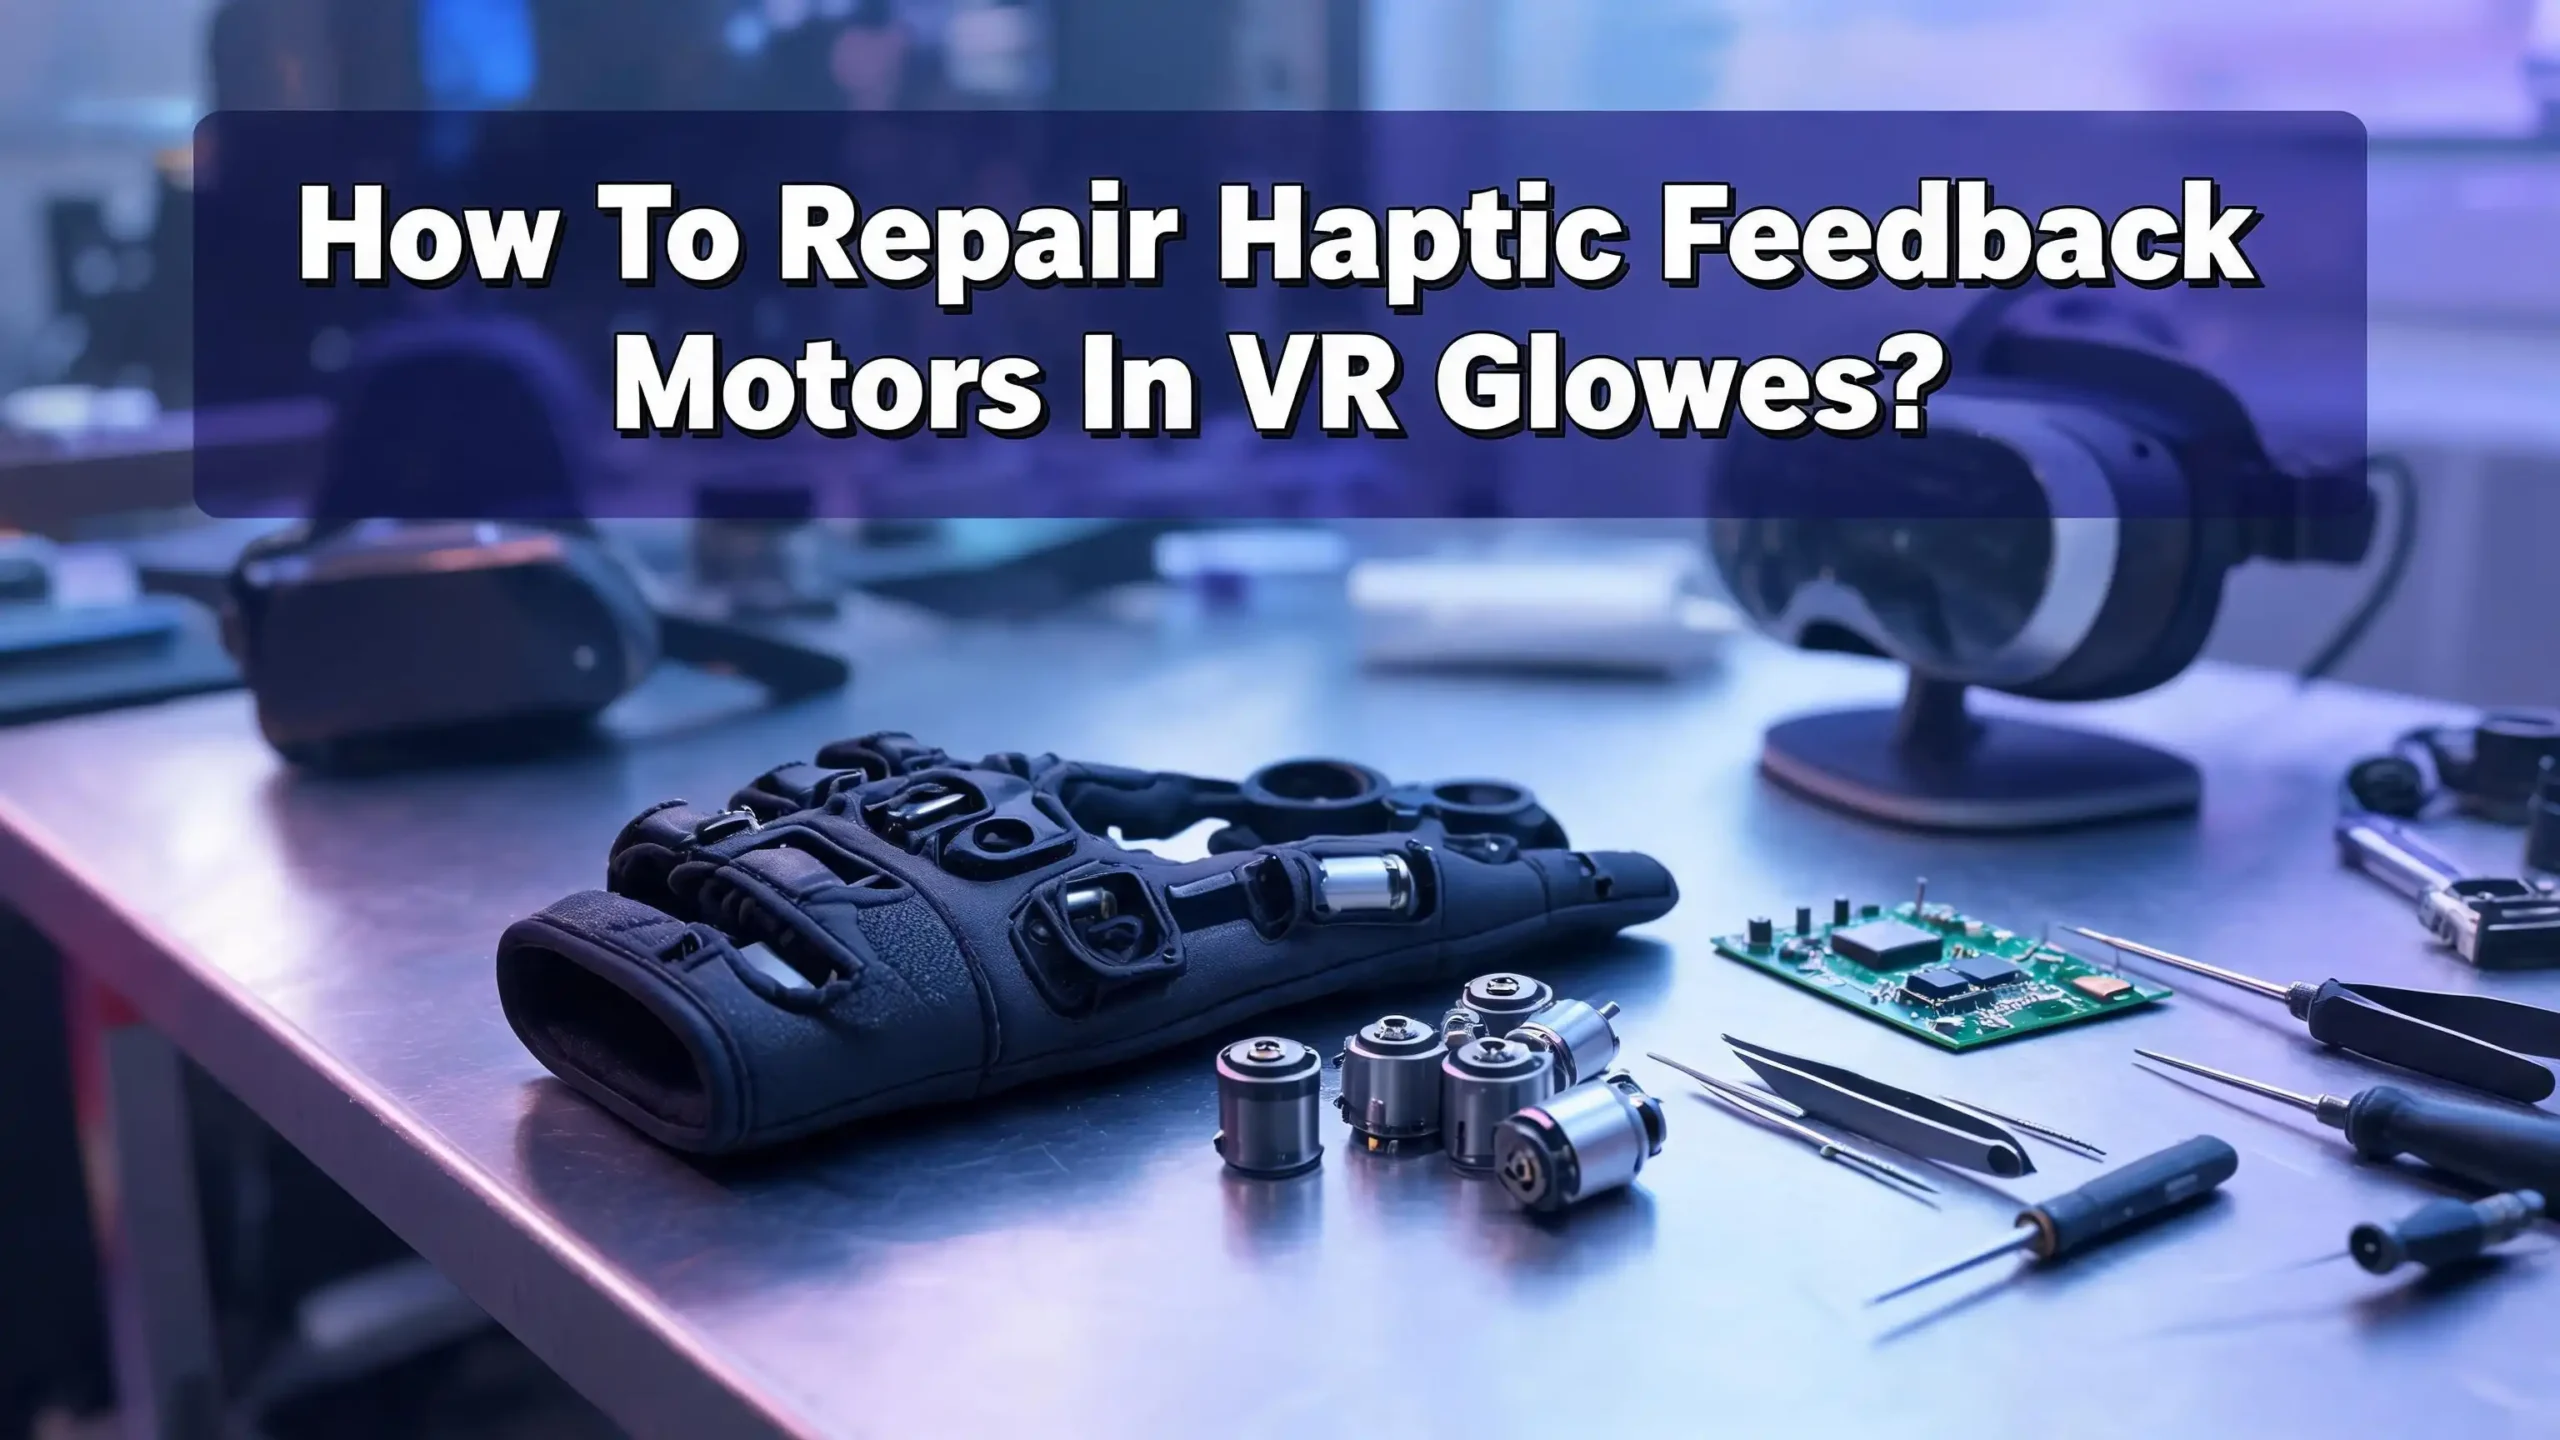
VR haptic gloves rely on small vibration motors to simulate touch. These motors can fail because of broken wires, worn internal parts, driver chip errors, or loose solder joints. Many users assume they need to replace the entire glove.
That is rarely true. A basic repair kit, some patience, and the right knowledge can bring your haptic feedback back to life.
This guide walks you through the full diagnosis and repair process for haptic feedback motors found in VR gloves. You will learn how to identify your motor type, test it, fix common faults, and prevent future failures.
In a Nutshell
- Haptic motor failures usually come from a small number of fixable causes. Broken wires, cold solder joints, dead driver chips, and worn brushes account for the vast majority of issues. You do not need advanced engineering skills to handle most of these repairs.
- Identify your motor type first. VR gloves use either ERM (Eccentric Rotating Mass), LRA (Linear Resonant Actuator), or piezoelectric actuators. Each type fails differently and requires a different repair approach. Knowing which one your glove uses saves time and prevents mistakes.
- A multimeter is your best friend during diagnosis. Testing motor resistance, checking wire continuity, and measuring driver output voltage can pinpoint the exact failure point in minutes. Always test before you start disassembling anything beyond what is necessary.
- Soldering skills make the biggest difference. The most common repair involves reconnecting tiny wires or replacing cold solder joints on the motor terminals. Practice on scrap components if you have never soldered small electronics before.
- Prevention extends motor life significantly. Proper cable management, strain relief, and firmware updates reduce mechanical stress on haptic motors. A few minutes of maintenance after each session can add months or years to your glove’s lifespan.
- Keep spare motors and driver boards on hand. If a motor is physically burned out or a coil is damaged, no amount of soldering will fix it. Having replacements ready means you can swap parts and get back into VR quickly.
Understanding Haptic Feedback Motors In VR Gloves
Haptic feedback motors are the components that produce vibrations, pulses, and tactile sensations in VR gloves. They convert electrical signals into physical motion you can feel on your fingertips and palms. Without them, a VR glove is just a tracking device with no touch simulation.
Most VR gloves place one motor on each fingertip and sometimes on the palm. Each motor receives commands from a microcontroller or driver board. The controller tells the motor when to vibrate, how strongly, and for how long. This creates the illusion of touching virtual objects.
The three most common motor types in VR gloves are ERM, LRA, and piezoelectric actuators. ERM motors spin an off center weight to create vibration. LRA motors move a magnetic mass back and forth on a spring. Piezoelectric actuators flex a crystal material to produce precise pulses. Each type has different strengths and weaknesses that affect both performance and repairability.
Commercial gloves from brands like SenseGlove, Manus, and bHaptics use various combinations of these motors. DIY builds, such as the popular LucidVR gloves, often use small ERM coin motors driven by Arduino based controllers. Understanding your specific setup is the first step to a successful repair.
Identifying Common Symptoms Of Motor Failure
Before you open your glove, you need to confirm that the haptic motor is actually the problem. Several symptoms point directly to motor failure, while others suggest issues with wiring or software instead.
The most obvious symptom is complete loss of vibration in one or more fingers. If a single finger stops producing feedback while others work fine, the problem is almost certainly a dead motor or a broken wire leading to that motor. If all motors fail at once, the issue is more likely a driver board failure or a power supply problem.
Weak or inconsistent vibration is another red flag. A motor that buzzes faintly or cuts in and out often has a loose solder connection or worn internal brushes. ERM motors are especially prone to this because their rotating parts experience constant mechanical wear. You may notice the vibration works when you press on the glove in a certain spot, which confirms a loose connection.
Unusual sounds from the motor also indicate trouble. A grinding noise from an ERM motor suggests the bearing or shaft is damaged. A clicking sound from an LRA motor can mean the spring mechanism is broken or the mass is hitting the housing walls. A completely silent motor that still draws current may have a seized mechanism.
Finally, check for intermittent software errors in your VR glove’s companion app. Some gloves, like the SenseGlove Nova, have built in diagnostics that report motor status. Error messages about vibration feedback often trace back to hardware faults in the motor or its driver.
Gathering The Right Tools And Supplies
A successful haptic motor repair requires a small but specific set of tools. Gathering everything before you start prevents frustrating interruptions during the repair process.
You will need a soldering iron with a fine tip, rated between 15W and 30W. Haptic motor terminals are tiny, often under 2mm wide. A large soldering tip can damage adjacent components or melt the motor housing. Use lead free solder in a thin gauge, around 0.5mm to 0.8mm diameter, for precise application.
A digital multimeter is essential for testing. You need it to measure resistance across motor terminals, check wire continuity, and verify voltage output from the driver board. Any basic multimeter with a continuity beep function will work.
Keep tweezers, a magnifying glass or loupe, and small screwdrivers on hand. VR glove internals are compact. You will also need heat shrink tubing in small diameters to insulate repaired connections. Electrical tape works in a pinch but adds bulk that can prevent the glove from closing properly.
Isopropyl alcohol (90% or higher) and cotton swabs help clean corroded contacts and old flux residue. Compressed air clears dust from motor housings and circuit boards. If you are working on a glove with adhesive mounted motors, keep double sided tape or a small tube of B7000 adhesive nearby.
For replacement parts, stock a few spare ERM or LRA motors that match your glove’s specifications. Common coin ERM motors operate at 3V and measure around 10mm in diameter. LRA motors come in various sizes and require matching the resonant frequency. Always check your glove’s documentation for exact part numbers.
Testing The Motor With A Multimeter
Testing confirms whether the motor itself is dead or whether the problem lies elsewhere. This step can save you from replacing a perfectly good motor when the real fault is a broken wire or bad driver.
Start by disconnecting the motor from the glove’s circuit board. Note which wires go where, or take a photo before detaching anything. Set your multimeter to the resistance (ohms) setting. Place the probes on the motor’s two terminals.
A healthy ERM motor typically shows a resistance between 10 and 100 ohms. LRA motors usually read between 8 and 30 ohms. If you see infinite resistance (open circuit), the motor’s internal coil is broken. If you see zero or near zero resistance, there may be an internal short. Either reading means the motor needs replacement.
Next, do a direct power test. Connect the motor to a battery or power supply that matches its rated voltage, usually 3V for small coin motors. The motor should vibrate immediately. If it does not vibrate even with direct power and it showed abnormal resistance, the motor is confirmed dead.
If the motor works during the direct power test, the problem is upstream. Check the wiring between the motor and the driver board. Use the multimeter’s continuity mode to test each wire end to end. A break anywhere in the wire will show as no continuity. Pay special attention to spots where wires bend, enter connectors, or pass through moving joints of the glove.
Pros of multimeter testing: Fast, nondestructive, and pinpoints the exact failure location. Cons: Requires basic knowledge of electronics and does not detect intermittent faults that only occur under vibration.
Fixing Broken Wires And Loose Connections
Broken wires and loose solder joints are the most frequent cause of haptic motor failure in VR gloves. The repeated flexing of fingers during VR use puts constant stress on thin motor wires. Over time, these wires crack or pull free from their solder points.
To repair a broken wire, first strip back the insulation on each side of the break by about 3mm. Twist the exposed strands together. Apply a small amount of flux to the joint and then solder the connection. Slide a piece of heat shrink tubing over the repair and shrink it with a heat gun or lighter held at a safe distance.
For a wire that has pulled free from the motor terminal, reflow the solder joint. Clean the terminal pad on the motor with isopropyl alcohol. Apply a tiny amount of fresh solder to the pad (this is called tinning). Then position the wire on the pad and heat both simultaneously with your soldering iron until the solder flows together. Hold the wire still for two seconds while the solder cools.
One real world example comes from HTC Vive controller repairs. The haptic module in these controllers uses an extremely thin flat cable that frequently cracks at the solder joint. Experienced repair technicians bypass the damaged flat cable entirely by soldering thin enameled wire directly from the vibration unit to the main circuit board. This approach is more durable than the original design.
Pros of wire repair: Low cost, fast, and effective for the most common failure mode. Cons: Requires steady hands and soldering experience. Thick replacement wires can prevent the glove from closing properly. Use the thinnest wire that can handle the current.
Replacing A Dead Haptic Motor
Sometimes a motor is beyond repair. Burned coils, seized bearings, and cracked magnets all require full motor replacement. This is straightforward if you have the correct replacement part.
Start by removing the old motor. Most VR glove motors are held in place with double sided tape, adhesive, or small clips. Gently pry the motor free using a plastic spudger or flat tool. Avoid metal tools that could scratch the circuit board beneath.
Desolder the old motor’s wires from the circuit board. Note the polarity of the connections. ERM motors can run in either direction, so polarity matters less for them. LRA motors and piezoelectric actuators are polarity sensitive. Swapping wires on an LRA will still produce vibration, but the phase will be reversed, which can cause odd behavior in software driven haptic patterns.
Solder the new motor’s wires to the same pads on the circuit board. Keep wire lengths as short as practical to reduce stress points and signal loss. Secure the motor in its mounting position using fresh adhesive or tape.
After installation, run a calibration routine if your glove’s firmware supports it. Many haptic driver chips, such as the popular DRV2605L, have an auto calibration feature. This process measures the new motor’s characteristics and adjusts drive signals for optimal performance. Without calibration, the motor may vibrate too weakly or too aggressively.
Pros of motor replacement: Completely restores haptic function. New motors often outperform worn originals. Cons: Requires sourcing the correct replacement part. Mismatched motors can cause uneven feedback across fingers.
Troubleshooting The Haptic Driver Board
The driver board sits between the microcontroller and the motors. It amplifies and shapes the signals that control vibration patterns. A faulty driver board can make perfectly good motors appear dead.
The DRV2605L from Texas Instruments is one of the most widely used haptic driver chips. It supports both ERM and LRA motors and stores over 100 preset vibration effects. Common problems with this chip include failure to initialize, incorrect motor mode selection, and I2C communication errors.
Start troubleshooting by checking the power supply to the driver board. Use your multimeter to verify that the board receives the correct input voltage, typically 3.3V or 5V. A voltage that is too low can prevent the chip from starting. A voltage that is too high can damage it permanently.
Next, check the I2C connection between the microcontroller and the driver. The SDA and SCL lines need pull up resistors, usually 4.7k ohms. Missing or damaged pull up resistors prevent communication. You can verify I2C connectivity by running an I2C scanner sketch on an Arduino, which will detect the driver chip at its default address (usually 0x5A for the DRV2605L).
If the chip does not respond, try reflowing its solder joints. Surface mounted chips can develop cold joints from thermal cycling or physical impact. Apply flux around the chip’s pins and carefully run your soldering iron along them. Do not apply too much heat, as the chip can be damaged above 260°C.
Pros of driver board repair: Can fix problems that appear to be motor failures. Cons: Requires more advanced electronics knowledge. Surface mount soldering is difficult without proper equipment.
Repairing ERM Motors Specifically
ERM (Eccentric Rotating Mass) motors are the most common type found in VR gloves, especially in DIY builds and budget commercial models. They are also the easiest to repair because of their simple mechanical design.
Inside an ERM motor, a small DC motor spins an off center weight. The unbalanced rotation creates vibration. Common failure points include worn brushes, a dirty commutator, and broken lead wires. The brushes inside the motor make constant sliding contact with the commutator, and this friction causes them to wear down over time.
To address brush wear, you can sometimes extend motor life by cleaning the commutator. Open the motor casing carefully. Use a cotton swab dipped in isopropyl alcohol to clean the commutator segments. Remove any carbon dust or debris. This can restore contact between the brushes and commutator, bringing a “dead” motor back to life temporarily.
If the brushes are completely worn, replacement is usually impractical for the tiny motors used in VR gloves. These motors cost very little, and sourcing replacement brushes for a 10mm coin motor is nearly impossible. Full motor replacement is the practical choice here.
ERM motors can also fail when the eccentric weight detaches from the shaft. This is rare but produces a distinctive symptom: the motor spins (you may hear a faint whirring) but produces no vibration. If the motor casing is accessible, you can sometimes reattach the weight with a drop of cyanoacrylate adhesive (super glue).
Pros of ERM repair: Simple design, low replacement cost, and widely available parts. Cons: Internal brush repair is rarely practical. ERM vibrations are less precise than LRA alternatives.
Repairing LRA Motors Specifically
LRA (Linear Resonant Actuator) motors are found in higher end VR gloves and offer crisper, more precise haptic feedback than ERMs. They are also more delicate and require careful handling during repair.
LRA motors work by driving a magnetic mass on a spring using an alternating current signal. The mass oscillates at the motor’s resonant frequency, creating vibration. This spring based design means LRAs have a specific failure mode that ERMs do not: spring fatigue.
A fatigued spring causes the motor’s resonant frequency to shift. The driver chip sends a signal at the original frequency, but the motor no longer responds efficiently. You will notice weaker vibration that cannot be fixed by increasing the drive voltage. The DRV2605L driver chip has an auto calibration feature that can detect the new resonant frequency and adjust. Running this calibration after noticing reduced performance can often restore normal operation without opening the motor.
If calibration does not help, the spring may be broken or permanently deformed. LRA motors are sealed units, and internal spring replacement is not feasible for the small actuators used in VR gloves. Full motor replacement is the correct solution.
Another LRA specific issue is voice coil damage. The voice coil is the stationary electromagnetic winding inside the motor. Overdriving the motor with too much voltage or current can burn the coil. A burned voice coil shows as either infinite resistance (open circuit) or an unusually low resistance (shorted turns) when measured with a multimeter.
Pros of LRA repair: Auto calibration can fix many issues without opening the motor. Higher precision feedback. Cons: Internal repairs are not practical. Replacement motors must match the original resonant frequency precisely.
Addressing Firmware And Software Issues
Not every haptic failure is a hardware problem. Firmware bugs and incorrect software settings can disable or degrade haptic feedback without any physical damage to the motors.
Start by checking your VR glove’s firmware version. Manufacturers like SenseGlove and bHaptics release firmware updates that fix known bugs, including haptic feedback glitches. Connect your glove to the manufacturer’s companion app and check for available updates. Apply any pending updates and test the haptic function again.
For DIY gloves running Arduino based firmware, verify that the motor driver initialization code is correct. The DRV2605L chip, for example, must be set to the right mode for your motor type. Setting ERM mode while using an LRA motor will produce weak or no vibration. Double check the library configuration in your code.
Calibration routines matter more than many users realize. If you replaced a motor or changed any wiring, the driver chip needs to recalibrate. On the DRV2605L, this involves writing specific values to the control registers and triggering the auto calibration sequence. The chip measures back EMF from the motor and adjusts its drive parameters accordingly.
Check the communication bus between your microcontroller and the motor drivers. I2C bus errors caused by electrical noise, incorrect addressing, or damaged pull up resistors can silently prevent haptic commands from reaching the motors. Adding 100nF decoupling capacitors near the driver chip can reduce noise related failures.
Pros of software fixes: Zero cost, no soldering required, and can resolve widespread issues across all motors at once. Cons: Requires programming knowledge for DIY gloves. Firmware updates on commercial gloves depend on manufacturer support.
Preventing Future Haptic Motor Failures
Prevention is easier and cheaper than repair. A few simple habits can dramatically extend the life of your VR glove’s haptic motors.
Strain relief is the single most important preventive measure. The wires connecting motors to the circuit board flex every time you move your fingers. Add small loops of slack wire at each motor connection point. Secure wires along the glove’s structure with soft adhesive or fabric tape so they do not pull directly on solder joints.
Avoid overdriving your motors. Running ERM motors above their rated voltage generates more heat and accelerates brush wear. LRA motors driven above their rated amplitude can fatigue the spring faster. If you are building a DIY glove, set current limits in your firmware and use the appropriate drive signals for your motor type.
Keep your gloves clean and dry. Sweat from your hands introduces moisture that corrodes solder joints and motor terminals. Wear thin liner gloves underneath your VR gloves if possible. After each session, let your gloves air dry in a well ventilated area. Wipe down exposed electronics with a dry cloth.
Store your gloves flat and unclenched. Storing gloves in a fisted position keeps wires bent at sharp angles for extended periods, weakening them over time. Lay the gloves out flat with fingers extended, or stuff them lightly with soft material to maintain a neutral position.
Periodically inspect your gloves for early signs of wear. Look for frayed wires, loose motors, and discolored solder joints. Catching a problem before it causes a full failure saves time and prevents collateral damage to nearby components.
When To Seek Professional Repair Or Replace The Glove
Some repairs go beyond what is practical for a home workshop. Knowing when to stop and seek help saves you from making a minor problem into a major one.
If your glove uses surface mount components smaller than 0402 size (1.0mm x 0.5mm), hand soldering becomes extremely difficult without a microscope and specialized tools. Damaged traces on a flexible PCB inside the glove also require professional equipment to repair. Many electronics repair shops that service smartphones and game consoles can handle these types of jobs.
Multiple simultaneous motor failures suggest a problem with the power regulation circuitry or the main microcontroller rather than the motors themselves. Diagnosing these issues requires oscilloscopes and logic analyzers that most hobbyists do not own. A professional can trace the fault quickly and accurately.
Consider the cost of repair versus replacement. If a single motor wire broke, repair costs only a few cents in solder and wire. But if the main controller board is fried, a replacement board may cost nearly as much as a new glove. For commercial gloves still under warranty, contact the manufacturer before attempting any repair. Opening the glove typically voids the warranty.
For DIY gloves, the open source community is a valuable resource. Forums and Discord servers for projects like LucidVR have experienced builders who can diagnose problems from photos and descriptions. Many common issues have already been solved and documented by other builders.
Pros of professional repair: Access to specialized tools and expertise. Higher success rate on difficult repairs. Cons: Higher cost and turnaround time. May not be available in all areas.
Building A Simple Motor Test Rig
A dedicated test rig lets you verify motor function outside the glove, which makes diagnosis faster and more accurate. You can build one in under 30 minutes with basic components.
Take an Arduino Uno or Nano and connect a DRV2605L breakout board to its I2C pins (SDA to A4, SCL to A5 on the Uno). Power the setup from USB or a 5V supply. Solder two short leads with alligator clips to the motor output pads on the driver board.
Upload a simple test sketch that cycles through several vibration effects. The DRV2605L has 123 built in effects for ERM motors and a separate waveform library for LRA motors. Cycling through a range of effects lets you verify that the motor responds across different frequencies and amplitudes.
To test a motor, simply clip it to the leads and run the sketch. A working motor will produce distinct vibrations for each effect. A motor with partial damage may only respond to some effects or produce uneven vibration. A dead motor will do nothing.
This rig is also useful for testing replacement motors before installation. You can verify that a new motor matches the performance of the original before soldering it into the glove. This prevents the frustrating situation of installing a motor only to find it is the wrong type or defective.
Label your test rig and keep it on your workbench. It will become one of your most used tools if you work with haptic gloves regularly.
Step By Step Motor Replacement Walkthrough
This section provides a complete replacement procedure from start to finish. Follow each step in order for the best results.
Step 1: Power off the glove and disconnect it from all cables and batteries. Remove any tracking modules or external accessories.
Step 2: Open the glove casing. Most gloves use small Phillips screws, clips, or adhesive. Work slowly and keep track of every screw. Take photos at each stage so you can reassemble correctly.
Step 3: Locate the failed motor. Use your multimeter to confirm it is the faulty component. Test resistance across the motor terminals and check wire continuity.
Step 4: Desolder the motor’s wires from the circuit board. Apply your soldering iron to each joint and gently pull the wire free once the solder melts. Clean the pads with solder wick.
Step 5: Remove the motor from its mounting. Peel away adhesive or release clips. Clean the mounting surface.
Step 6: Prepare the new motor. Tin the terminals with a small amount of solder. Cut new wires to the correct length if the old wires are damaged.
Step 7: Solder the new motor’s wires to the circuit board pads. Match the polarity to your notes or photos from earlier. Use thin gauge wire, ideally 30 AWG or thinner.
Step 8: Mount the motor in position. Secure with fresh adhesive or tape. Add strain relief loops in the wire.
Step 9: Reassemble the glove. Test haptic feedback through the companion app or firmware before fully closing the casing.
Step 10: Run calibration if supported by your glove’s firmware.
Frequently Asked Questions
How long do haptic motors in VR gloves typically last?
Most small ERM and LRA motors used in VR gloves last between 500 and 2,000 hours of active use. This depends on the motor quality, operating voltage, and how aggressively the motor is driven. Motors that run at or below their rated voltage last longer. DIY gloves that overdrive cheap coin motors may see failures much sooner. Regular maintenance and proper storage can extend motor life significantly.
Can I upgrade my VR glove’s ERM motors to LRA motors?
Yes, but it requires changes to both hardware and software. LRA motors need an AC drive signal, while ERM motors use DC. Your driver chip must support LRA mode. The DRV2605L supports both types, but you need to change the firmware configuration to LRA mode and run auto calibration. The physical mounting dimensions may also differ, so check that the new LRA motor fits in the existing motor slot.
What voltage should I use to test a haptic motor?
Match the motor’s rated voltage during testing. Most small coin ERM motors used in VR gloves are rated for 3V. LRA motors vary but are commonly rated between 1.5V and 3V. Exceeding the rated voltage during testing can damage a motor that was otherwise functional. If you do not know the rating, start at 1.5V and increase slowly while observing the motor’s response.
Why does my VR glove vibrate on some fingers but not others?
This indicates a localized failure in the motor, wiring, or driver channel for the affected finger. Test the silent motor with a multimeter to check for an open coil or broken wire. If the motor tests fine, trace the wiring back to the driver board and check each connection. A single broken solder joint at a connector or flex point is the most likely cause.
Is it worth repairing a haptic motor or should I just buy a new glove?
For most single motor failures, repair is far more cost effective than replacement. A new coin motor costs very little, and the repair takes under an hour once you have the right tools. Full glove replacement only makes sense if the main controller board is damaged, multiple systems have failed, or the glove is several generations old and lacks software support.
Do I need special equipment to solder VR glove motors?
A standard fine tip soldering iron and thin solder are sufficient for most repairs. You do not need a hot air rework station unless you are replacing surface mount driver chips. A magnifying glass or loupe helps with small terminals. The most important thing is a steady hand and clean work area. If you have never soldered small electronics, practice on old circuit boards before working on your glove.
Hi, I’m Yuri — I’m a tech enthusiast who loves breaking down complex gadgets, software, and tools into simple, honest reviews and guides. My goal? To help you spend less time researching and more time enjoying the right tech.