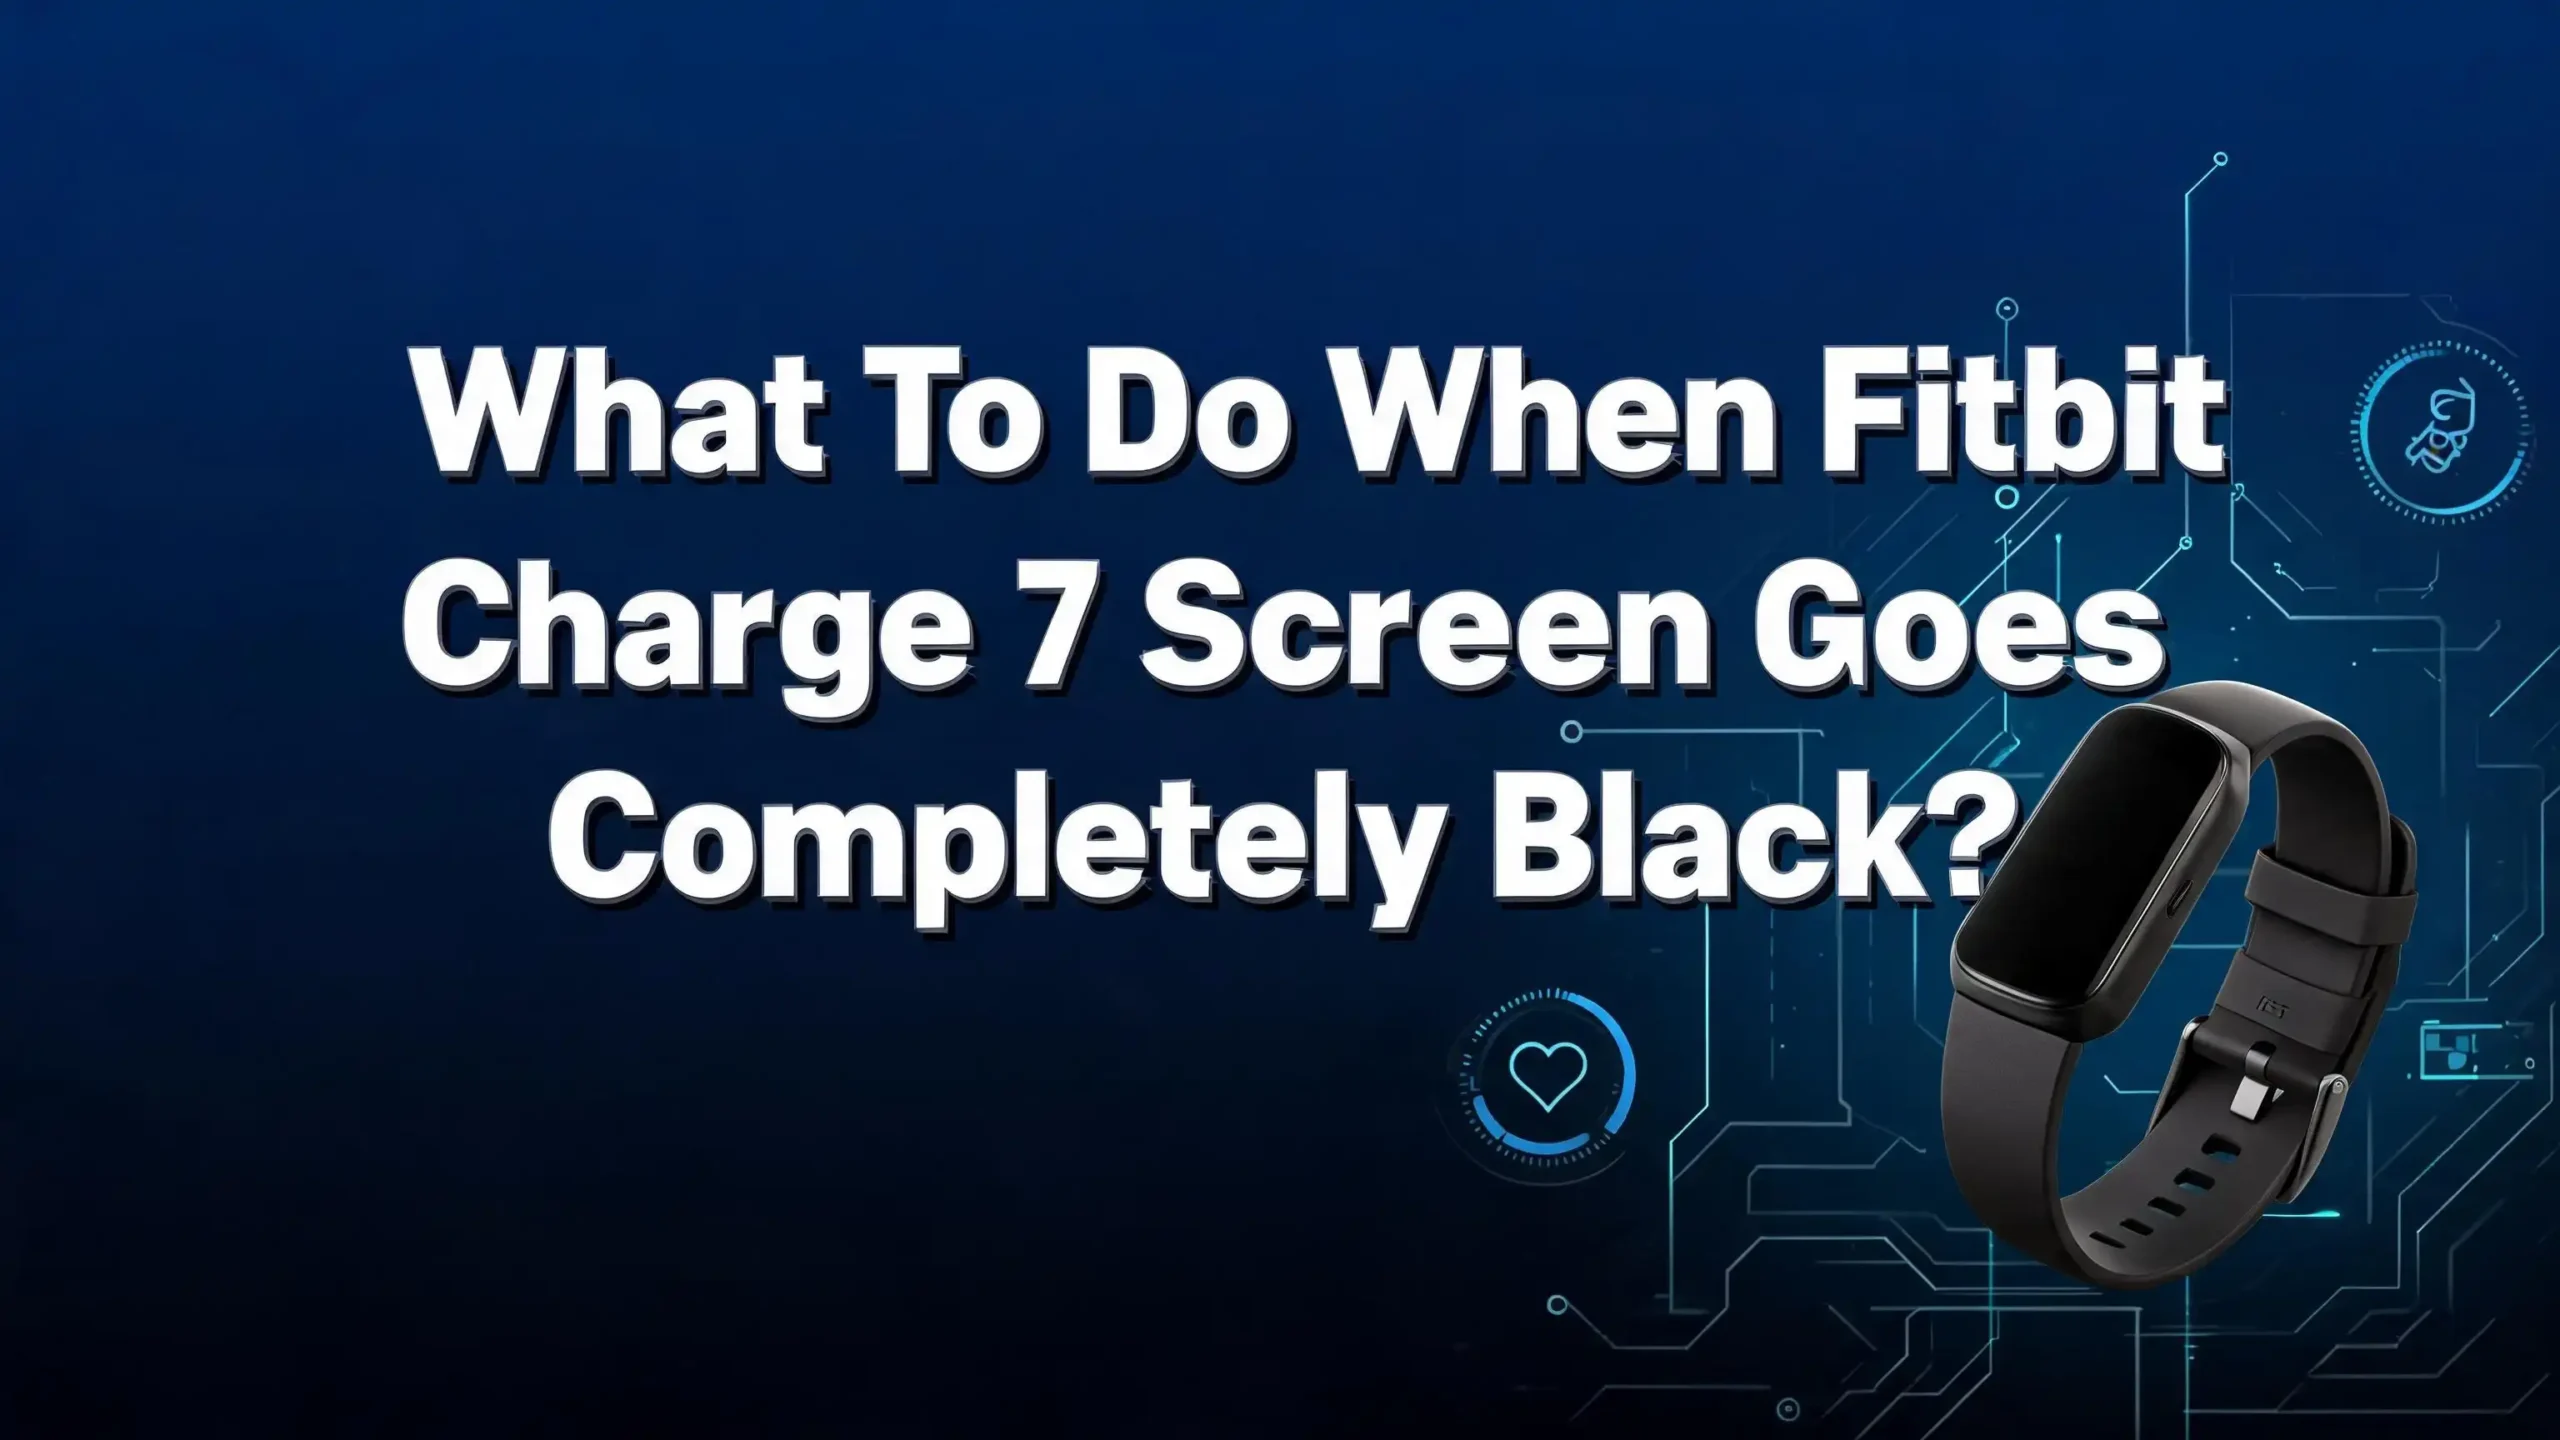
What To Do When Fitbit Charge 7 Screen Goes Completely Black?
You just glanced at your wrist to check your steps, and your Fitbit Charge 7 screen is completely black. No logo. No clock. Nothing. You tap the screen. You press the button. Still black. Your heart sinks because this little device holds your health data, sleep records, and daily workout goals. The good news? A black screen does not always mean your Fitbit Charge 7 is dead or broken beyond repair.
This problem is surprisingly common among Fitbit users, and most people fix it at home without spending a single dollar. The causes range from a drained battery to a software glitch to a faulty charging cable.
In this post, you will find 12 practical, step by step solutions that cover every possible reason your Fitbit Charge 7 screen went dark. Each fix is simple to follow, and you can try them in order until your tracker comes back to life.
Key Takeaways
- A black screen on the Fitbit Charge 7 is usually fixable at home. Most cases result from a depleted battery, a frozen system, or a dirty charging connection. You rarely need professional repair or a replacement.
- Start with the simplest fixes first. Charge your device for at least one full hour before assuming it is broken. Many users panic before checking the basics. A fully drained battery can make the screen appear dead.
- A force restart solves most software glitches. If your screen is frozen or unresponsive, a hard reset using the side button or the charger cable button is the fastest fix. This does not delete your data.
- Clean your charger contacts regularly. Dirt, sweat, and oil build up on the charging pins and the back of your Fitbit over time. This prevents proper charging and can lead to a black screen.
- A factory reset is the last resort before contacting support. This option erases all local data from your Fitbit Charge 7. Only use it after every other solution has failed. Your synced data stays safe in the Google Health app.
- Contact Google Support if nothing works. If you have tried every fix and the screen stays black, your device may have a hardware issue that requires warranty service or professional help.
Why Does the Fitbit Charge 7 Screen Go Black?
The Fitbit Charge 7 screen can go black for several reasons, and understanding the cause helps you pick the right fix. A completely drained battery is the most common reason. If your tracker sat unused for days or you forgot to charge it, the screen will show nothing at all.
Software glitches are another frequent cause. The Fitbit operating system can freeze during a firmware update, a sync, or normal use. The screen becomes unresponsive even though the internal hardware still works. Some users report that their Fitbit sensors still flash green on the back, but the display stays dark.
A faulty or dirty charging connection can also cause this problem. If the charging pins on the cable or the contacts on the back of the Fitbit are covered in sweat, dirt, or corrosion, the device will not charge properly. You might think you charged it overnight, but the battery remained empty because the connection was poor.
Water damage is a less common but serious cause. The Fitbit Charge 7 has water resistance, but prolonged exposure to hot water, steam, or chlorinated pool water can damage internal components over time. Physical damage from drops or impacts can also crack the display or disconnect internal wiring.
Finally, a corrupted clock face or a bad firmware update can trigger a black screen. Third party clock faces sometimes conflict with the operating system and cause display failures.
Charge Your Fitbit for at Least One Hour
Before you try anything else, place your Fitbit Charge 7 on its charger and leave it alone for at least one hour. This is the most overlooked fix. Many people assume their device is broken, but the battery has simply run out of power completely.
A deeply drained battery behaves differently from a low battery. Your Fitbit will not show a charging icon or any sign of life right away. It needs several minutes of charging before the screen can even display the battery symbol. Do not unplug it after five minutes and assume the charger is broken.
Use the original charging cable that came with your Fitbit Charge 7. Plug it into a computer USB port or a standard wall adapter. Avoid fast chargers or high wattage adapters, as they can sometimes cause charging issues with fitness trackers.
Make sure the charging pins snap firmly onto the contacts on the back of your device. You should feel a slight click or vibration. If the cable sits loosely, the connection is not secure, and your Fitbit will not charge. After one full hour of charging, check your screen. In many cases, your Fitbit will boot up on its own with the Fitbit logo and start working again.
Perform a Force Restart Using the Side Button
A force restart is the go to fix for a frozen or unresponsive Fitbit Charge 7. This does not erase your activity data. It simply reboots the system, much like restarting a computer that has frozen.
Press and hold the side button on your Fitbit Charge 7 for 15 to 20 seconds. Keep holding it even when nothing appears to happen on the screen. After about 15 seconds, you should see the Fitbit logo appear. Once you see the logo, release the button and wait for the device to boot up fully.
If a single long press does not work, try this variation: hold the button for a full 20 seconds, release it, and then hold it again for another 10 seconds. Some users have found that repeated restart attempts break through a stubborn freeze.
This method works because it forces the processor to cut power and restart from scratch. Any temporary software error that caused the black screen will clear during the reboot. If the force restart brings your screen back, sync your device with the Google Health app immediately to make sure your firmware is up to date. An outdated firmware version can cause repeated freezes and black screens.
Restart Your Fitbit Using the Charging Cable
If the side button restart does not work, you can use the charging cable to force a reboot. This method bypasses the side button entirely and works even on a completely unresponsive device.
Connect your Fitbit Charge 7 to the charging cable. Locate the small button on the flat end of the charger (where the USB connector is). Press this button three times with a one second pause between each press. Wait about 10 seconds after the third press. The Fitbit logo should appear on the screen.
There is also a second method you can try. Unplug your Fitbit from the charger, wait one second, and plug it back in. Repeat this plug and unplug cycle three times within eight seconds. Then wait 10 seconds for the device to restart. This rapid reconnection forces the system to reboot.
These charger based restart techniques are officially recommended by Google for Fitbit Charge series devices. They provide an electrical reset that can clear problems the side button cannot fix alone. If your Fitbit vibrates during this process, that is a positive sign. It means the hardware is responding and the restart is underway. Give the device a minute to fully boot up before interacting with the screen.
Clean the Charging Contacts and Pins
Dirty charging contacts are a hidden cause of black screen issues. Your Fitbit sits against your skin all day, collecting sweat, skin oils, sunscreen residue, and dust. These substances build up on the gold or bronze contacts on the back of your tracker and on the pins of your charging cable.
Use a soft bristled toothbrush with fresh water to gently scrub the contacts on the back of your Fitbit Charge 7. Make sure the contacts return to their original gold or bronze color. Dry the contacts completely with a lint free cloth before you attach the charger.
For the charging cable pins, use a cotton swab dipped in rubbing alcohol. Gently clean each pin and make sure no cotton fibers are left behind. Rubbing alcohol evaporates quickly and removes stubborn grime that water alone cannot.
After cleaning both the device and the cable, reconnect them and check for a snug fit. The charging pins should sit flat against the contacts with no wobbling. A clean, solid connection means your battery will charge properly and your black screen problem may resolve on its own. Make this cleaning a weekly habit. It takes less than two minutes and prevents many common Fitbit issues.
Update Your Firmware Through the Google Health App
Outdated firmware is a known cause of display problems on Fitbit devices. If your Fitbit Charge 7 turns on but the screen goes black randomly, a pending firmware update may be the reason.
Open the Google Health app on your phone. Tap the Connections icon at the top left of the screen. Select your Fitbit Charge 7 from the device list. If an update is available, you will see a pink Update button. Tap it and follow the instructions on screen.
Keep your Fitbit close to your phone during the update. The process can take up to one hour depending on the update size and your Bluetooth connection speed. Do not interrupt the update by moving your phone out of range or closing the app. A failed firmware update can actually make the black screen problem worse.
If you cannot see the update button, make sure your Google Health app is updated to the latest version. Also check that Bluetooth is turned on and your Fitbit has enough battery charge. A firmware update requires at least 50% battery to begin. After the update completes, your device will restart automatically. The black screen issue should be resolved if outdated software was the cause.
Change the Clock Face from the App
A corrupted or buggy clock face can cause your Fitbit Charge 7 screen to go black. Third party clock faces sometimes contain errors that crash the display. Even official clock faces can malfunction after a failed download or update.
Open the Google Health app on your phone. Tap Connections, then select your Fitbit Charge 7. Tap Watch Faces or Clock Faces depending on your app version. Browse the available options under the Clocks tab. Choose a simple, default clock face from Fitbit’s official collection and tap Install.
The app will push the new clock face to your device over Bluetooth. This process may take a minute. Once the new clock face installs, your Fitbit screen should display the new design. If it does, the previous clock face was the problem.
Avoid installing too many third party clock faces at once. Stick to clock faces with high ratings and many downloads. If you want to test whether a clock face caused your issue, switch to the most basic default option first. If your screen works with the default face, you have found your answer. You can then try other clock faces one at a time to find the one that causes the problem.
Check for Water Damage or Physical Damage
Your Fitbit Charge 7 has water resistance, but it is not waterproof in all conditions. Hot water from showers, steam rooms, hot tubs, and chlorinated pools can degrade the seals and damage internal components over time. If your black screen appeared after water exposure, moisture may have entered the device.
Remove your Fitbit from your wrist and dry it thoroughly with a soft cloth. Place it in a dry, warm area (not in direct sunlight or on a heater) for 24 to 48 hours. Some users place the device near a fan or in a container with silica gel packets to absorb moisture faster.
Inspect the screen for visible cracks, chips, or scratches. Even a hairline crack can allow moisture to seep in and damage the display. Check the back of the device for discoloration around the sensor area or the charging contacts.
If you notice signs of water intrusion or physical damage, a software fix will not solve your problem. Contact Google Health Support and provide your Fitbit model and serial number. If your device is under warranty, you may qualify for a free replacement. Always remove your Fitbit before entering hot tubs, saunas, or steam rooms to prevent future water damage.
Perform a Factory Reset as a Last Resort
A factory reset erases all local data on your Fitbit Charge 7 and restores it to its original settings. This should be your last option after you have tried every other fix in this guide. Any data that has already synced to the Google Health app remains safe in the cloud.
To factory reset your Fitbit Charge 7, connect it to the charging cable first. Then follow the on screen instructions in the Google Health app. Go to Connections, select your device, and look for the Factory Reset or Clear User Data option.
If your screen is completely black and you cannot use the on screen menu, try the charger method. Connect the device to the charger and use the button sequence specific to your model. For Charge series devices, this typically involves pressing the charger button in a specific pattern while the device is connected.
After the factory reset completes, your Fitbit will restart as if it were brand new. You will need to pair it with your phone again and set up your preferences from scratch. Sync it with the Google Health app right away to restore your account data. A factory reset fixes deep software corruption that a simple restart cannot clear. It is effective for persistent black screens caused by system level errors.
Re Pair Your Fitbit With Your Phone
Sometimes the connection between your Fitbit and your phone breaks down. This can cause syncing failures that lead to display problems. Removing and re pairing your device gives both the tracker and the app a fresh start.
Open the Google Health app on your phone. Go to Connections and select your Fitbit Charge 7. Scroll down and tap Remove This Device. Confirm the removal. Now go to your phone’s Bluetooth settings and forget the Fitbit Charge 7 from your paired devices list.
Restart your phone completely. Once your phone is back on, open the Google Health app and tap Set Up a Device. Follow the pairing instructions. Your Fitbit Charge 7 should appear in the list of available devices. Select it and wait for the pairing process to complete.
This method fixes communication errors between the app and the tracker. It also forces a fresh firmware sync, which can resolve display bugs. After re pairing, check if any firmware updates are available and install them immediately. Many users report that a fresh pairing fixed their persistent black screen after other solutions failed.
Adjust Your Screen Settings and Brightness
If your Fitbit Charge 7 screen appears black but the device is actually working (you feel vibrations, sensors flash on the back), the problem might be your screen brightness or display timeout settings.
Some Fitbit models allow you to adjust screen brightness and the wake behavior. If the brightness is set very low or the screen timeout is extremely short, the display may appear black even though it is technically on. Open the Settings on your Fitbit by swiping down from the clock face. Look for Display or Screen Wake options.
You can also adjust these settings from the Google Health app. Go to Connections, tap your device, and look for display settings. Set the brightness to a higher level and extend the screen timeout duration. Turn on the “Screen Wake” feature so the display lights up each time you raise your wrist.
Also check if “Do Not Disturb” mode or “Sleep Mode” is active. These modes dim or disable the screen to save battery. Turning them off may restore your display immediately. If you cannot access the device settings because the screen is black, use the Google Health app on your phone to change these settings remotely. The app pushes the changes to your tracker over Bluetooth.
Contact Google Support for Warranty or Repair
If you have tried every fix in this guide and your Fitbit Charge 7 screen remains black, the problem is likely hardware related. A dead display panel, a damaged internal ribbon cable, or a failed battery cannot be fixed with software solutions.
Visit the Google Health Support page and select your device model. Have your Fitbit serial number ready. You can find this number in the Google Health app under your device settings, or on the back of the device itself if it is readable.
Google offers warranty coverage for manufacturing defects. If your Fitbit Charge 7 is still within the warranty period, you may receive a free replacement. Describe the issue clearly and mention all the steps you have already tried. This speeds up the support process.
If your warranty has expired, Google Support can still offer repair options or trade in credits. You can also check with local electronics repair shops that specialize in wearable devices. Do not attempt to open your Fitbit yourself, as this voids any remaining warranty and can cause further damage. The internal components are delicate and require specialized tools to service.
How to Prevent Black Screen Issues in the Future
Prevention saves you time and frustration. A few simple habits will keep your Fitbit Charge 7 screen working for years.
Charge your device regularly. Do not let the battery drop to zero. Aim to charge it when the battery reaches 20% to 25%. Deep discharges stress the battery and can cause boot problems. A short 30 minute charge every few days is better than a full drain and recharge cycle.
Keep the firmware updated at all times. Enable automatic syncing in the Google Health app so your Fitbit downloads updates in the background. Firmware updates often contain bug fixes for display issues and system crashes.
Clean the device and charger weekly. Wipe the screen, the back contacts, and the charging pins with a soft cloth. This prevents buildup that blocks the charging connection. Avoid using harsh chemicals or abrasive materials on the screen.
Remove your Fitbit before hot showers, saunas, and hot tubs. Warm or hot water weakens the water resistant seals over time. Cold water and brief exposure during hand washing are generally fine.
Use official or highly rated clock faces. Stick to verified options from the Google Health app store. Test new clock faces one at a time so you can identify any that cause display problems right away.
Frequently Asked Questions
Why is my Fitbit Charge 7 screen black but the device still vibrates?
Your Fitbit is working, but the display has a separate issue. This is usually a software glitch or a corrupted clock face. Try a force restart by holding the side button for 15 to 20 seconds. If that does not work, connect the device to the charger and use the charger button restart method. You can also change the clock face from the Google Health app on your phone, which pushes a new display instruction to the device and can fix the issue.
Will a force restart delete my Fitbit data?
No. A force restart simply reboots the device. It does not erase your steps, heart rate data, sleep logs, or any other activity information. All your data stays on the device and continues to sync to the Google Health app. Only a factory reset erases local data, and even then, previously synced data remains in the cloud.
How long should I charge my Fitbit before assuming the screen is broken?
Charge your Fitbit Charge 7 for at least one full hour. A deeply drained battery will not show any signs of life for the first 10 to 15 minutes of charging. If the screen is still black after a full hour on the charger, move on to the force restart methods described in this guide.
Can water damage cause a black screen on the Fitbit Charge 7?
Yes. While the Fitbit Charge 7 is water resistant, exposure to hot water, steam, or chlorinated pools can damage the internal display over time. If your black screen appeared shortly after water exposure, dry the device thoroughly and leave it in a warm, dry place for 24 to 48 hours. If the screen does not recover, contact Google Support.
How do I factory reset my Fitbit Charge 7 if the screen is black?
Connect your Fitbit to the charging cable and use the charger button method. Press the button on the flat end of the charger three times with one second pauses. If this does not trigger a reset, try unplugging and replugging the device three times within eight seconds, then wait 10 seconds. You can also initiate a factory reset from the Google Health app by going to Connections, selecting your device, and choosing the reset option.
Should I replace my Fitbit Charge 7 if the screen stays black after all fixes?
If every solution in this guide has failed, your device likely has a hardware defect. Contact Google Health Support to check your warranty status. You may qualify for a free replacement or a repair. Replacing the device should be your absolute last step after confirming the issue is beyond software repair.

Hi, I’m Yuri — I’m a tech enthusiast who loves breaking down complex gadgets, software, and tools into simple, honest reviews and guides. My goal? To help you spend less time researching and more time enjoying the right tech.